The Early Sassanid list

The gathered Sassanid host

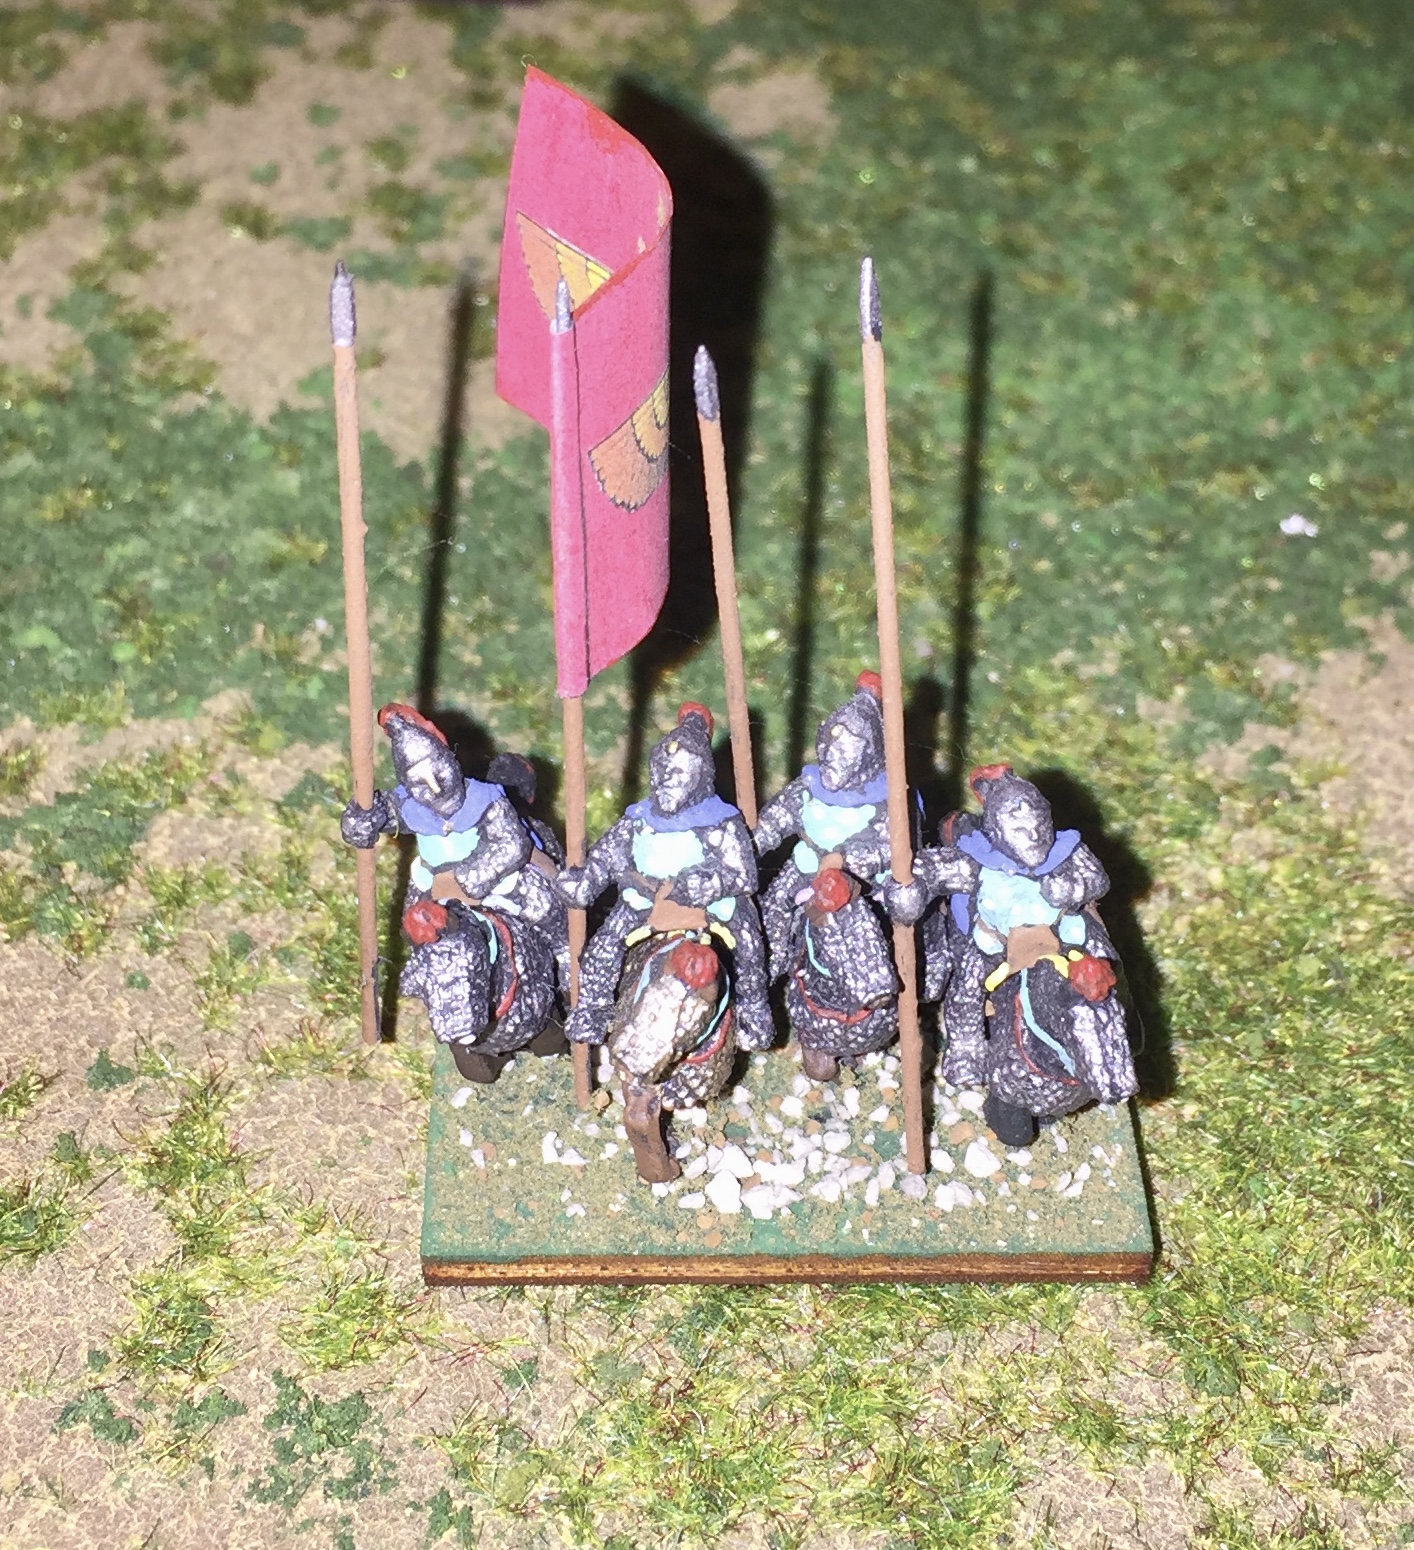
Several close-ups of the Cataphracts. I intentionally made the flags for the Cataphracts on the large size as I wanted to make them stand out heroically. Although it is a beautiful flag, I may have over done the red flag.


The Kushan list

The Kushan host

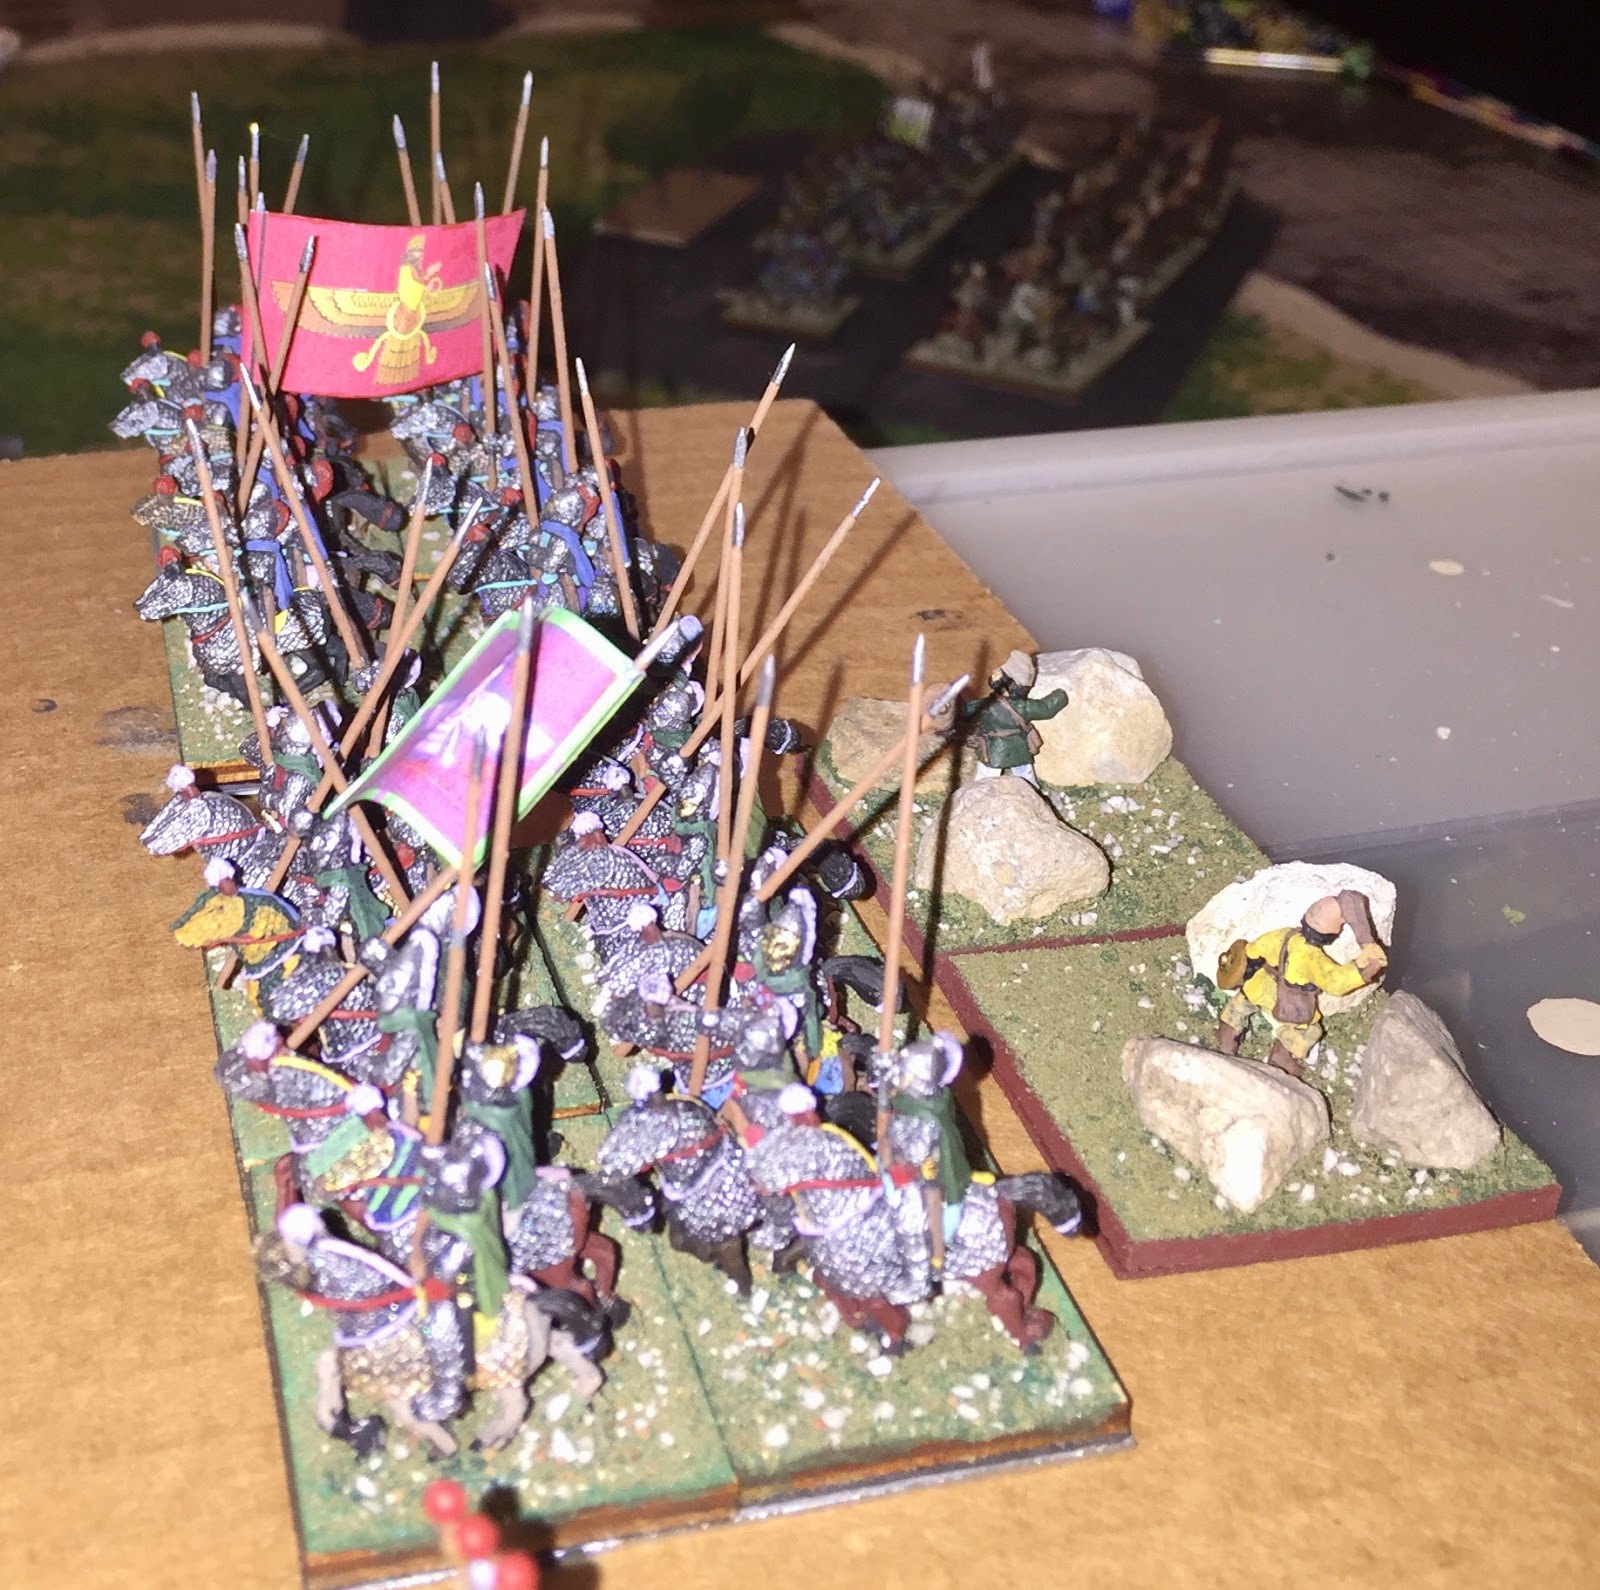
Close up pictures of the Kushan Cataphract command stands. The cataphracts in both armies double for Parthians as well.


The Sassanids won the initiative and opted to take Agricultural. The Kushans took the compulsory Open Field and an Open. The Sassanids wanted as much open terrain as possible and only took an Open Field.
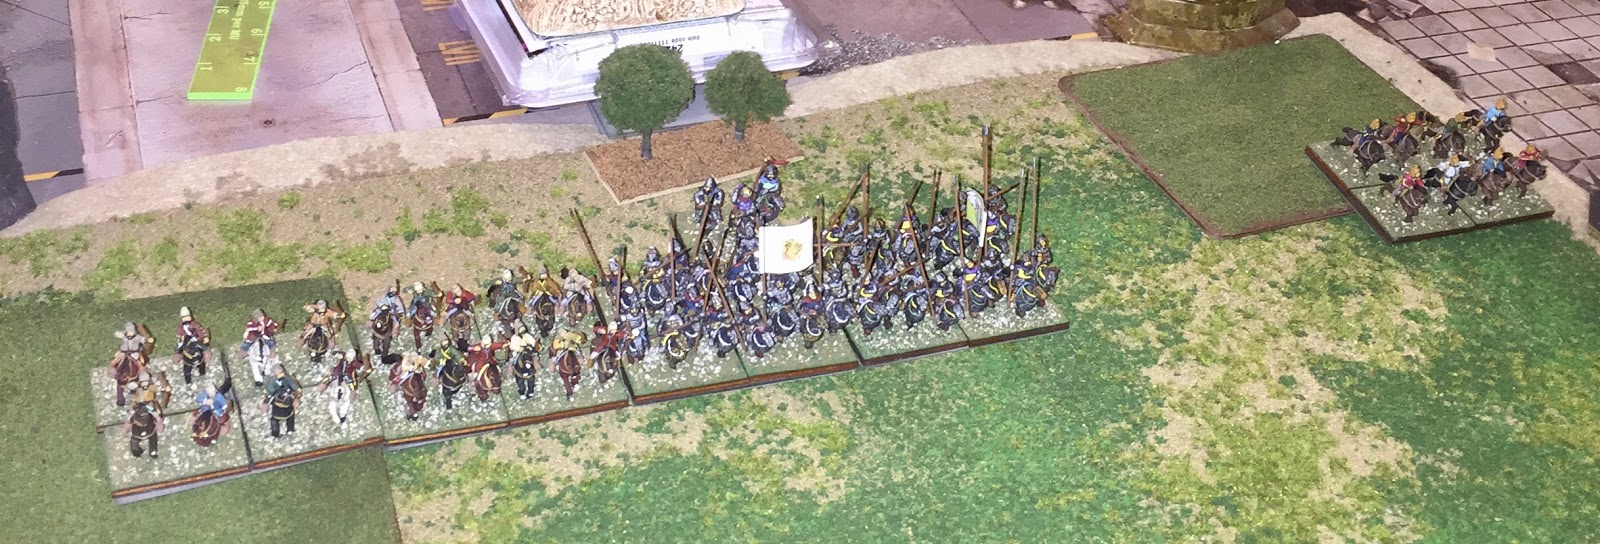
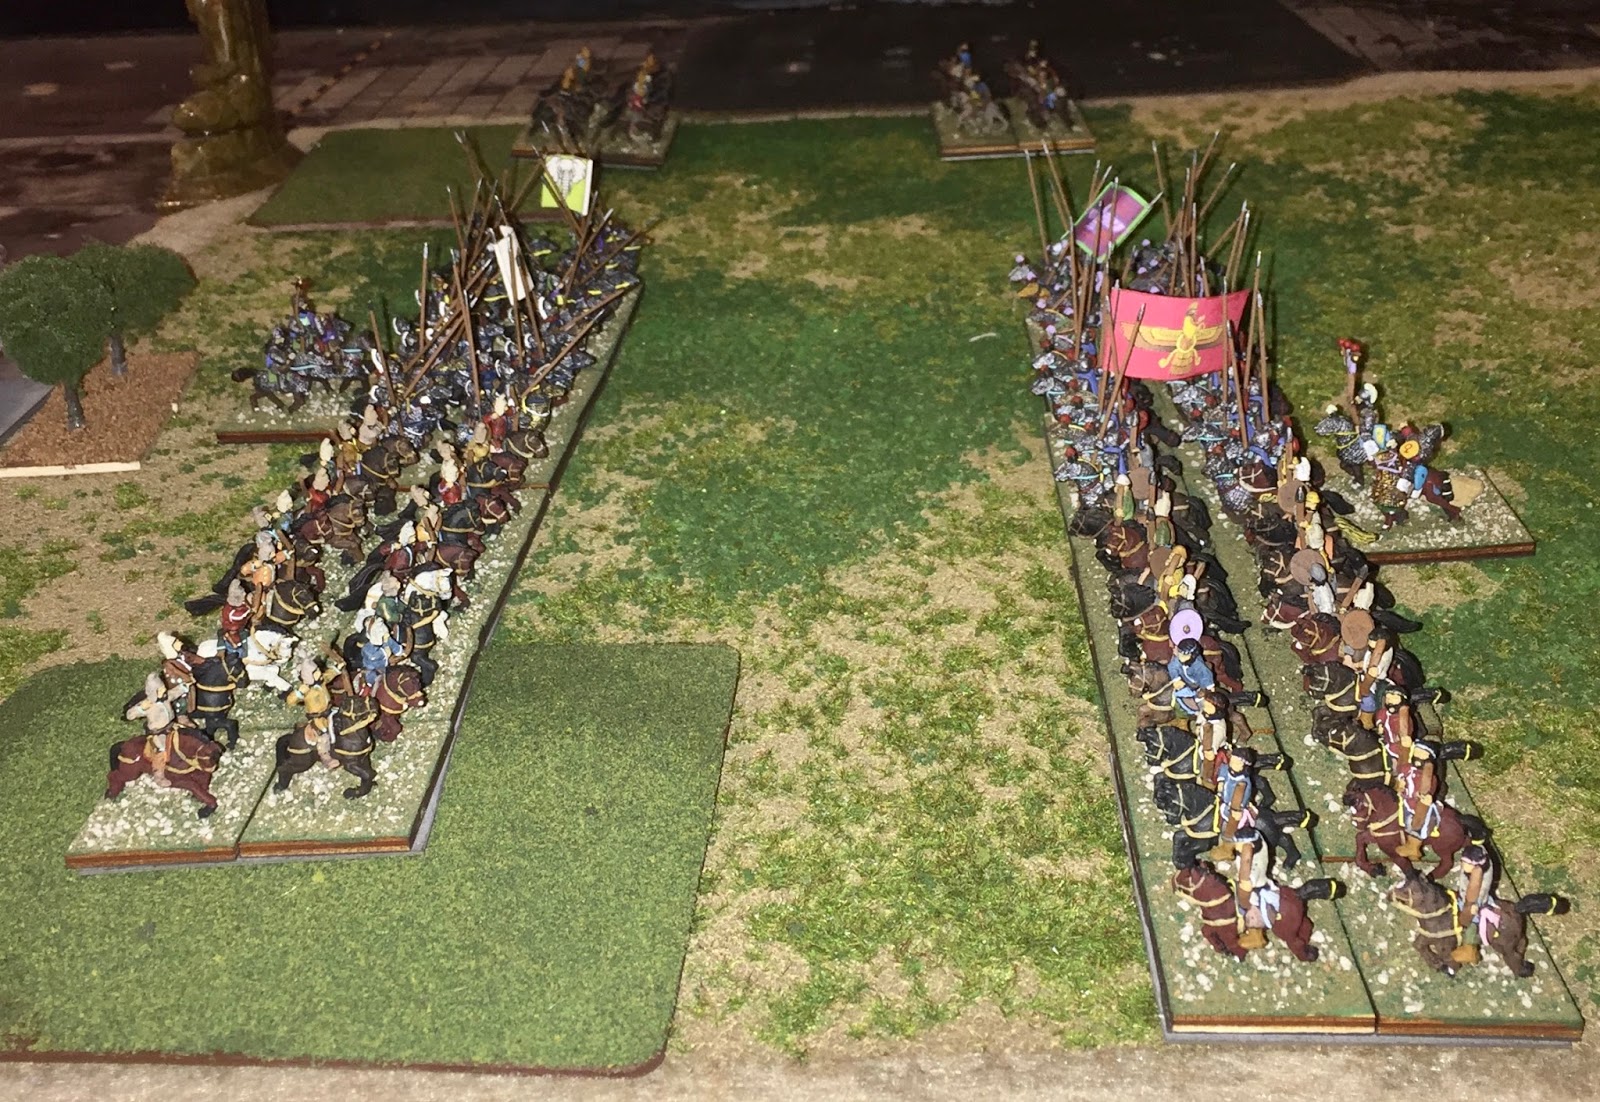
Here are a couple of shots of the Kushan host deployed with a light horse BG, a cavalry BG, the two cataphracts with the general behind on the left and the remaining light horse all alone on the far right. (Disregard the church in the background as it is holding down the mat. The Baeuda mats do not roll out very well if they have been stored and mine wanted to roll back up)
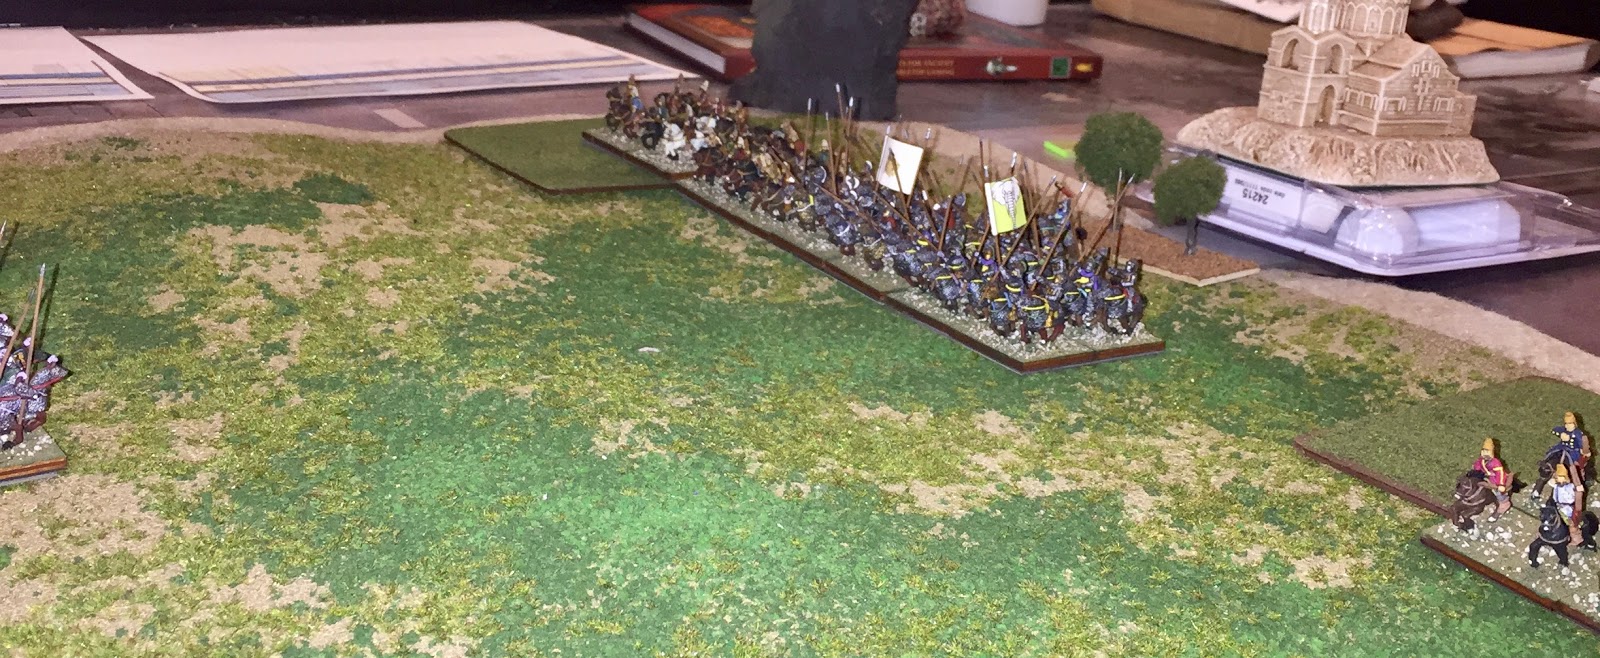

The Sassanid host was deployed in almost a mirror image oft the Kushans with a light horse BG, a cavalry BG, the two cataphracts and the general on the Sassanid right and a lone light horse BG on the far left of the Sassanid line.


The Sassanids moved first and saw a general advanced across the table. The superior leadership of Aspashir allowed him to move his four BGs on his left forward to just outside of 5" of the Kushan line while the lonely light horse on the other flank moved a full 7" forwards. As there was no shooting to be had, the turn ended and the forces looked like below:
The Kushans opted to wheel their line to the left with the right hand light horse BG and the cavalry BG moving individually. The cataphracts moved last as a battle line and with the general managed a double wheel. The light horse BG on the far left of the Kushan front moved to within bow range. Shooting ended up being wasted so the Kushan 1st turn ended.

The Sassanid general opted to charge everywhere to begin his 2nd turn. The right flank Kushan light horse BG evaded 6" with the pursuing Sassanid light horse also going 6". Elsewhere everyone stood their ground. The staggered nature of the Kushan line prevented the Sassanids from getting all of their bases into the impact: Five Sassanid bases contacted three Kushan. The Kushan cataphract at the top of the picture below opted to intercept the Sassanid charge as it would not have been contacted otherwise.

Impact did not go well overall for the Sassanids as the center Sassanid Cataphract lost a base on a death roll and the right most cataphract (the purple) lost a base and disrupted. The Kushan cavalry disrupted on impact but did not lose a base. Neither general was committed at this point.
On the far right of the table, the Sassanid light horse only scored 3 hits to 4 to the Kushan light horse even with lances. Both sides passed their death rolls on this end and the Sassanid passed his cohesion test.
In the maneuver phase, the only movement was for the Sassanids to conform to the Kushan line.

As there was no shooting to be had, the turn moved quickly into melee. At the top of the table, the Sassanid light horse failed to hit the Kushans but took 1 in return. Passing their death roll, they disrupted on their cohesion test. Meanwhile, the Sassanid cavalry failed to hit the Kushan cavalry at all. The Sassanid Red cataphracts (red flag) scored no hits against the Kushan cavalry and no hits against the Kushan White cataphracts (white flag) but took 1 hit from the Kushan cavalry and 1 from the Kushan cataphracts. The Sassanid Purple cataphracts (purple flag) scored 1 hit on the Kushan White cataphracts but none against the Kushan Green cataphracts taking 2 hits in return. The Sassanid cavalry survived their death roll and cohesion test. The Red cataphracts lost a base and disrupted. The Purple cataphracts did not lose a base but fragmented.

To start the Kushan 2nd turn, the Kushan light horse (just out of the picture to the bottom left) opted to turn around and shoot at the Sassanid light horse trailing them. This was the only shooting in this turn and ended up being ineffective for both sides. In the following melee phase, the light horse lottery at the top of the table remained ineffective. In the main scrum, the Kushan cavalry scored 1 hit on the Sassanid cavalry but none on the Red cataphracts. The Sassanid cavalry passed both their death roll and cohesion test. The Kushan White cataphracts scored 1 hit on the Sassanid Red cataphracts and took 1 in return for a draw. The Kushan White cataphracts scored 1 hit on the Sassanid Purple cataphracts while the Kushan Green cataphracts scored 2 more hits on the Purple cataphracts. The Sassanid Purple cataphracts passed their death roll but broke on their cohesion test. In the ensuing pursuit, the Purple cataphracts rolled short and were caught by the Kushans losing another base. The Sassanid Red cataphracts survived their cohesion for seeing a friendly BG rout. In Joint Action, the Kushan Green cataphracts stopped pursuing. The Sassanid Red cataphracts rallied back from disrupted as did the Kushan cavalry BG. The Sassanid Purple cataphracts were removed from the table at the end of JAP as they were at 50%.

Things were looking pretty grim for Aspashir as he started his 3rd turn. The left most Sassanid light horse BG charged the remaining Kushan light horse and managed to angle the charge so that both front bases made contact. The Sassanid lances proved decisive as they scored 3 hits to none and the Kushans lost a base and disrupted. After conforming the Sassanid light horse exhausted the maneuver phase and no one could shoot, the melee phase began. The light horse lottery at the bottom of the table saw the Sassanids score 2 hits to 1 and the Kushans roll out of the death roll but fail the cohesion test and fragmented. The light horse lottery at the top of the table saw the Kushans score 3 hits to 1. The Sassanid light horse lost a base and fragmented. In the center, the Sassanid cavalry scored 2 hits on the Kushan cavalry and took 1 in return. The Sassanid Red cataphracts scored 2 hits on the Kushan cavalry and suffered 2 in return. The Sassanid Red cataphracts also scored 1 hit on the Kushan White cataphracts but took 3 in return. The Kushan cavalry survived the death roll but disrupted. The Sassanid Red cataphracts lost a base to hits but survived their cohesion test.

To start the Kushan 3rd turn, the Kushan Green cataphracts passed a CMT to turn 90 degrees towards the Sassanid line. Again there was no shooting, so on to melee we went. The light horse lottery at the top of the table saw the Kushans score 3 hits to 2. The Sassanids lost a base to the death roll and auto broke. The light horse lottery at the bottom of the table saw each side hit 1 time to no effect. In the center. The Kushan White cataphracts scored 1 hit on the Sassanid Red cataphracts. The Kushan cavalry scored 2 hits and 1 hit to the Red cataphracts and the Sassanid cavalry respectively. The Sassanids only managed 1 hit from the Red cataphracts to the Kushan cavalry in total. Both the Sassanid cavalry and the Red cataphracts survived their death rolls but the Red cataphracts disrupted on their cohesion test.

With the conclusion of the melee round of the Kushan 3rd turn, the game ended with a Kushan victory. In total, the game took 57 minutes.
Aspashir fled the field with the remains of his command and has never been heard from again...
I incorporated a few suggestions from Mr. Shaw in this battle such as allowing troops to set-up 6" into the table as well as tweaking some other terrain set-up rules. The changes to the Sassanid list allowing lance to some of the horse archers is interesting and if anything served to get the Sassanids into trouble as they had no melee weapon and once they whiffed on impact the sword capability of the Kushan cavalry and light horse made a difference.


No comments:
Post a Comment
Due to spambots making inappropriate comments, all comments are currently moderated. My apologies for the inconvenience.