Showing posts with label Roman Republic. Show all posts

Tuesday, December 23, 2025

December 23 Update

 Been working on the latest update for the Nostri Maris Sanquis campaign scenario.  This is a post death of Caesar and Pompey the Great campaign circa 49 BC.  I have updated the campaign rules to include some adjustments learned from other scenarios and the army lists to FOG 3.2a.  This scenario adjusts the minimum army size to 325 points but still uses the FOG 300 framework for small battles.  The campaign uses the map from Columbia Games "Juleus Caesar."  There is a high quality resolution pdf of the map on the Columbia Games website that can be downloaded but it can also be ordered directly from them using this link:  http://columbiagames.com/cgi-bin/query/cfg/search.cfg?search=julius+caesar+map.  

The updated campaign rules can be found using the link below or accessed through the appropriate campaign page.

Nostri Maris Sanquis January 2026 (updates to the army lists)

I am working on a battle group of Illyrian foot and they might be finished before the end of the year.

Saturday, January 6, 2024

A Boy's Oath Update

 I am continuing to add to the Selected References page for the "A Boy's Oath" scenario.  I have begun going through past Slingshot issues and have added the relevant articles through the 1st 100 issues.  I will add more as time permits.

The updated list of references can be found by using this link and can always be accessed through the campaign page for this scenario.

Saturday, December 23, 2023

2nd Punic War Map Correction

 Made a correction to the 2nd Punic War Map Draft.


Punic War Reinforcements

 Managed to get some new figures based this week for the "A Boy's Oath" campaign project.  Still need to flock them but needed to get started.

OG 15s that I got off Ebay - Mix of Republican Roman Hastati and Princeps Throwing and Advancing packs. 

OG 15s that I bought off Ebay - Republican Roman Triari.  I need 10 more stands of the Hastati and Princeps to have this many Triari.

Corvus Belli Spanish Large Shield Cavalry that I bought off Ebay.  These work as Spanish Large Shield Cavalry, Spanish Cavalry in Carthaginian employ or Republican Roman Heavy Cavalry.  I have another battle group of these that are OG15s that I have not photographed and another batch waiting to be painted.

Not sure of the manufacturer (might be Donnington) but I got these off Ebay too.  Spanish Small Shield Cavalry that will work as Spanish Small Shield Cavalry, Spanish Light Cavalry in Carthaginian employ or Republican Roman Light Cavalry.


Wednesday, December 20, 2023

2nd Punic War Draft Map

 The first draft of the map for "A Boy's Oath" 2nd Punic Wars campaign scenario is finished.  It will be added to the campaign page shortly.  See the current draft below:


Tuesday, December 19, 2023

A New Campaign Page

 I know it has been a while but a new campaign scenario page has been added to the Blog.  A Boy's Oath will cover the 2nd Punic War.  The map and campaign rules are almost complete and the first part of selected readings have been added.  The link on the Campaign Page is now live so you can go directly there to find this scenario if you lose the link.

Friday, July 24, 2020

Battle of the Luppia, 48 BC - LRR vs Early Germans

After Baetorix of the Sugambri attempted to sway Vetera and Novaesium away from the sphere of the Republic, Tiberius Sempronius Micon, tribune angusticlavii, detached XV Legion, ordered his forces across the Rhenus and subdue the closets Sugambri village on the River Luppis.  The year is 48 BC and most of the legions are in the far south fighting for Caesar in the struggle against Pompey and the Senate...

The scenario is from "From the Forests Deep" campaign.

Roman List

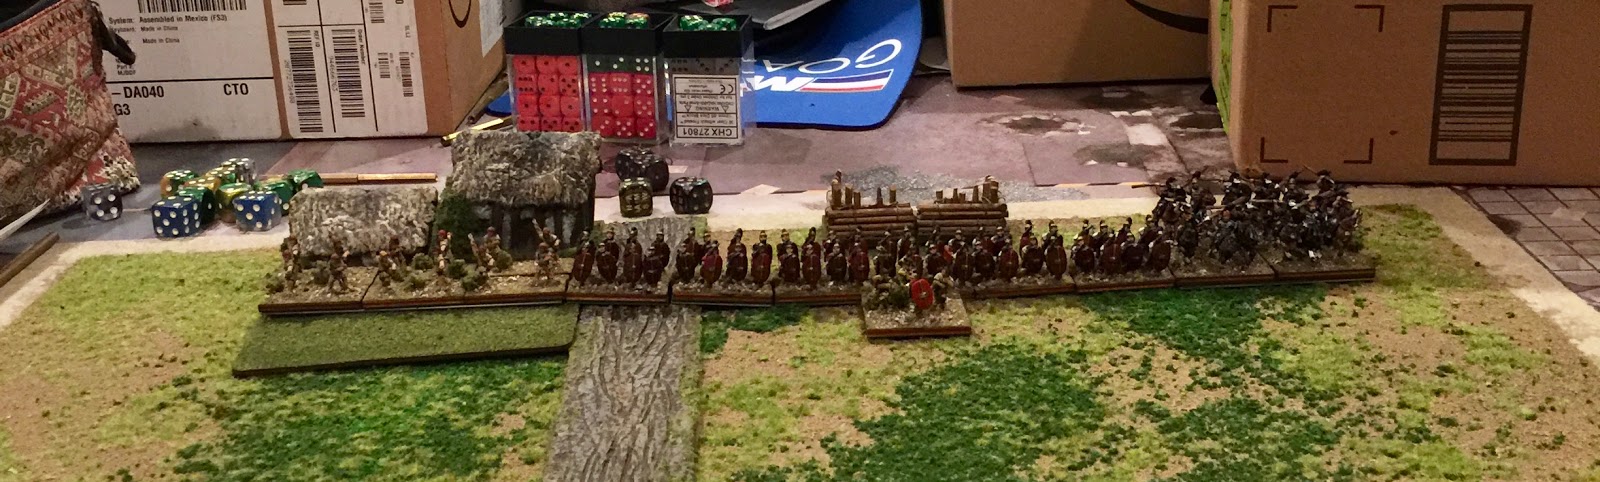
Roman contingent - All figures are OG15s.  The camp is scratch built picked up at Bayou Wars several years ago.  The numbers correspond to the order of march.

Sugambri List

The Sugambri horde - Almost all of the figures are Forged in Battle with a few Essex thrown in.  There might even be one or two OG15 Early Germans.  Most of the figures were painted by Mark Kernan of the One Tree Painting Service.  Although I painted a handful to fill out the ranks.  The camp is a work in progress.  Trees are from Hobby Lobby and the stone is from a Stonehenge kit I found on eBay years ago.  The numbers correspond to the army list.

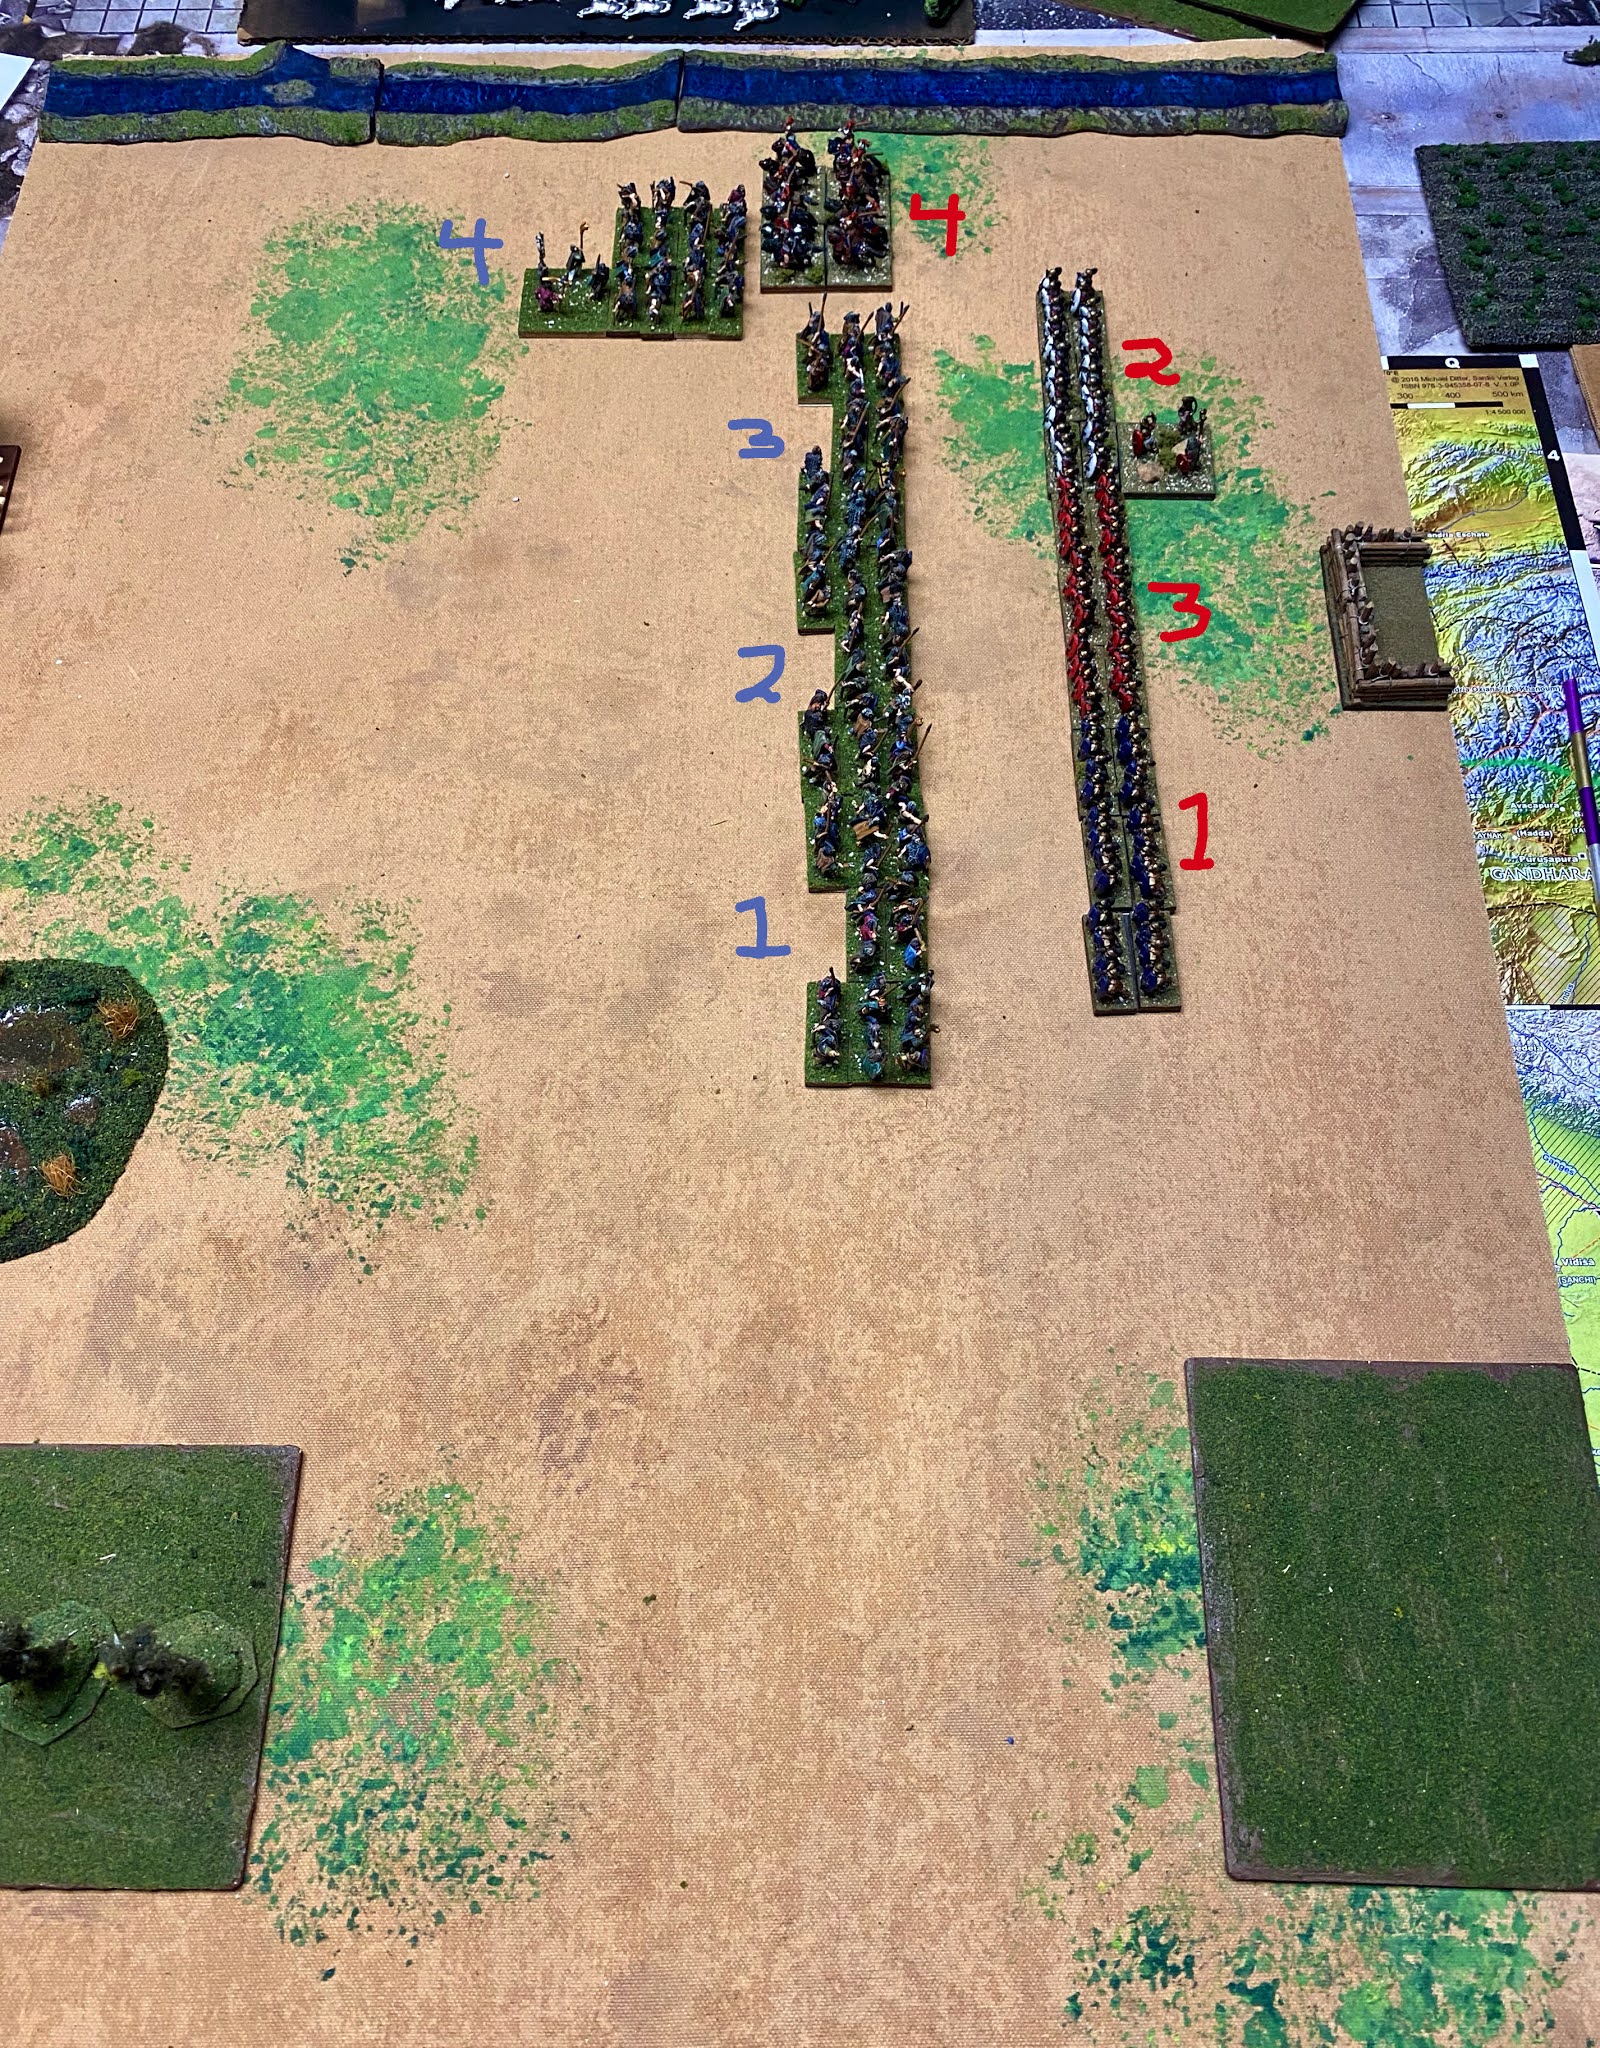
The Germans won the initiative and opted for Woodlands. The Romans took the compulsory brush and a marsh. The Germans took a river as required in the campaign scenario and a forest. The river was placed on the top edge of the table and ended up being difficult. The marsh and the forest fell on the German side of the table and the brush fell on the Roman board edge.

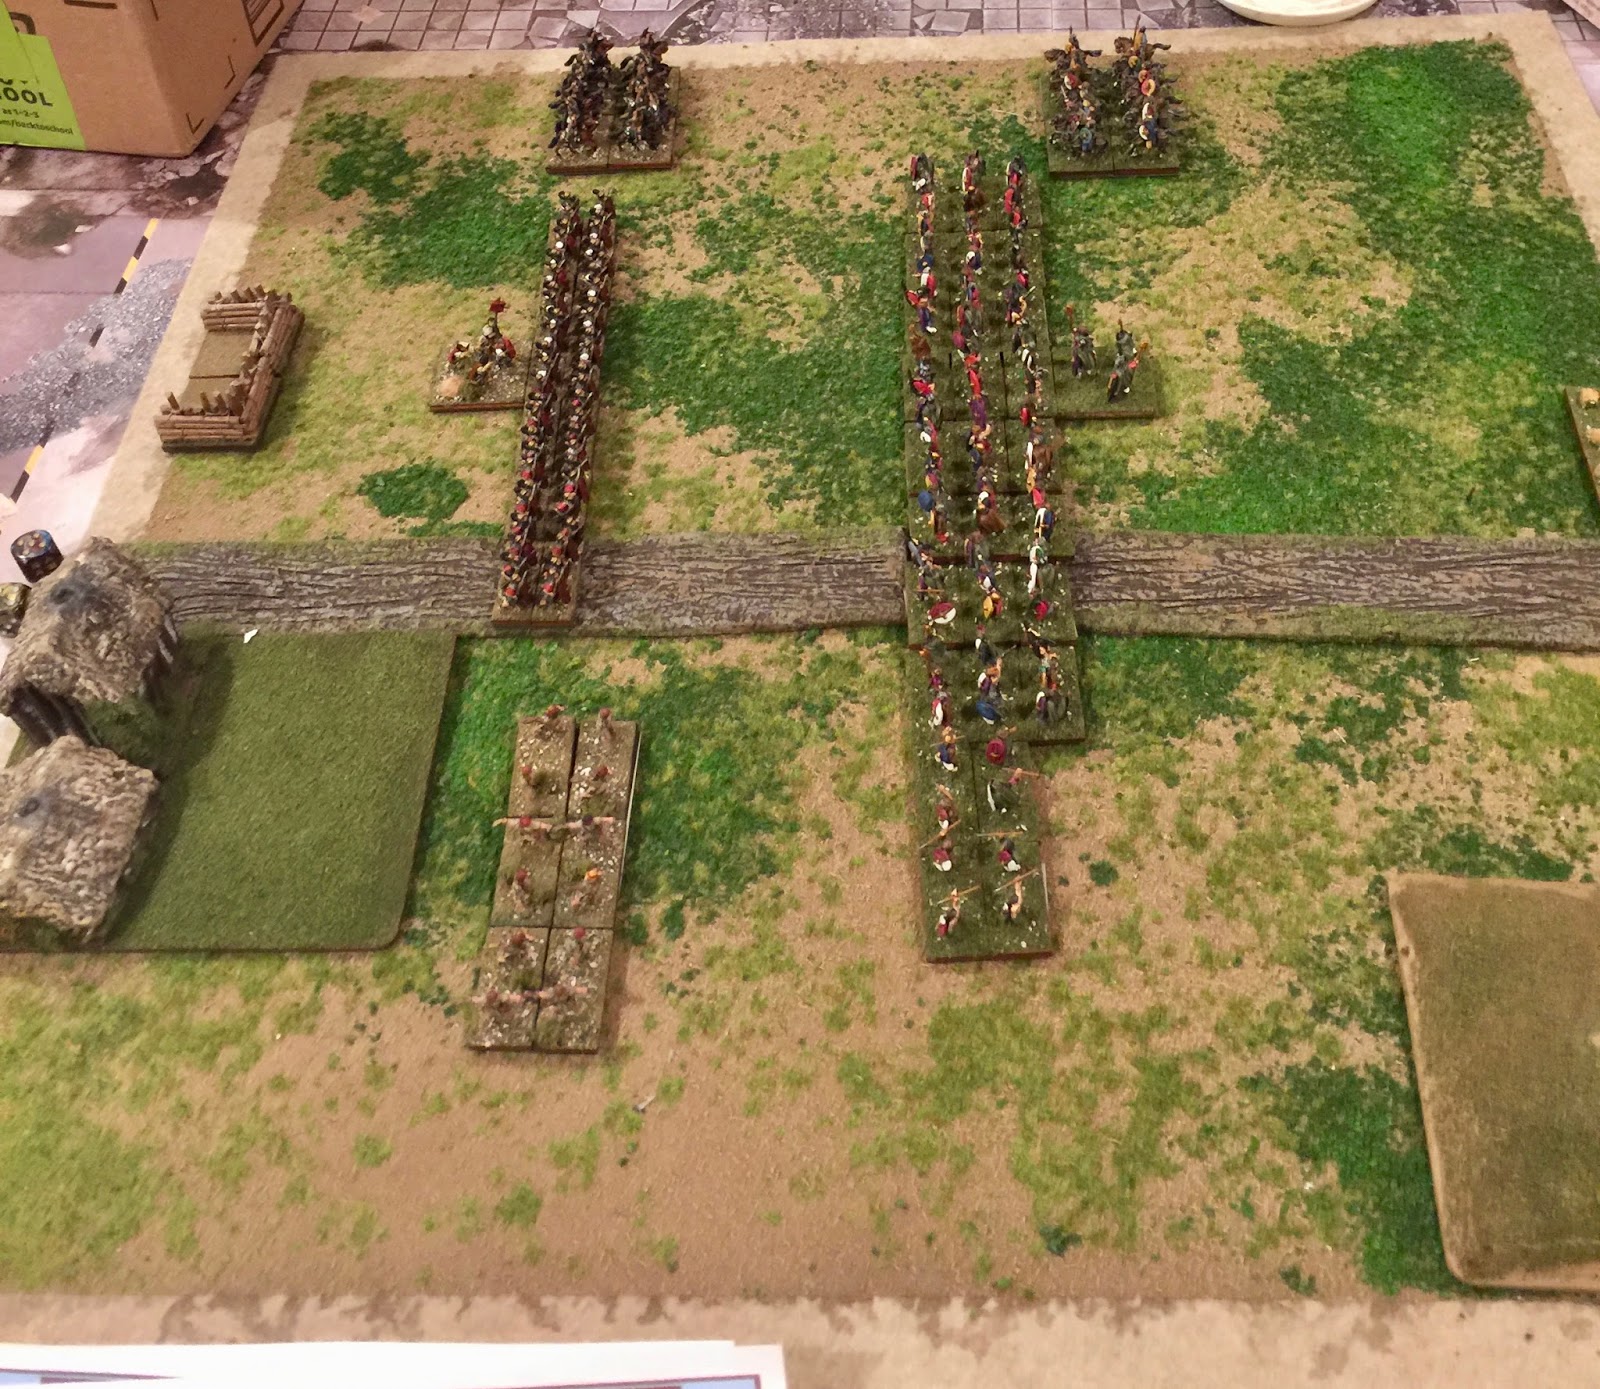
After deployment with the Germans on the left and Romans on the right.  The Roman superiors (BG 3) were deployed in front of the camp.  The Romans leader deployed with BG 2.  The German select warriors were deployed by the river in a two stand wide column (BG 4).  The German leader deployed with BG 2.

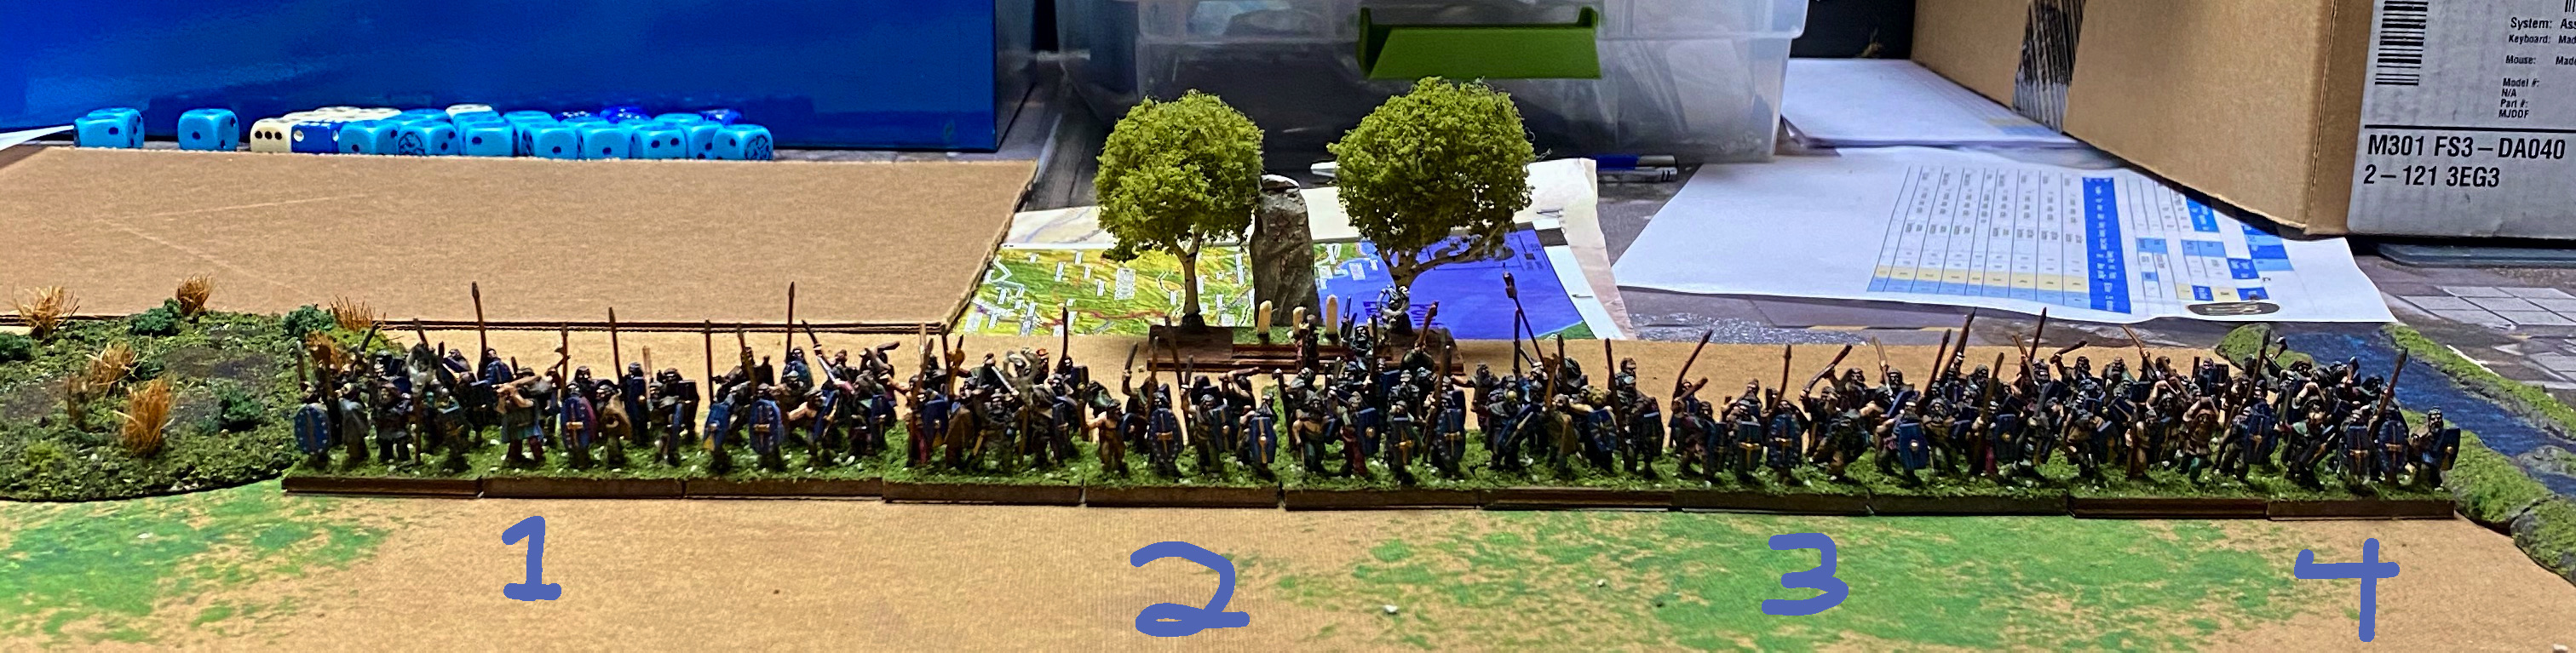
A frontal view of the German line.

A frontal view of the Roman line.
 
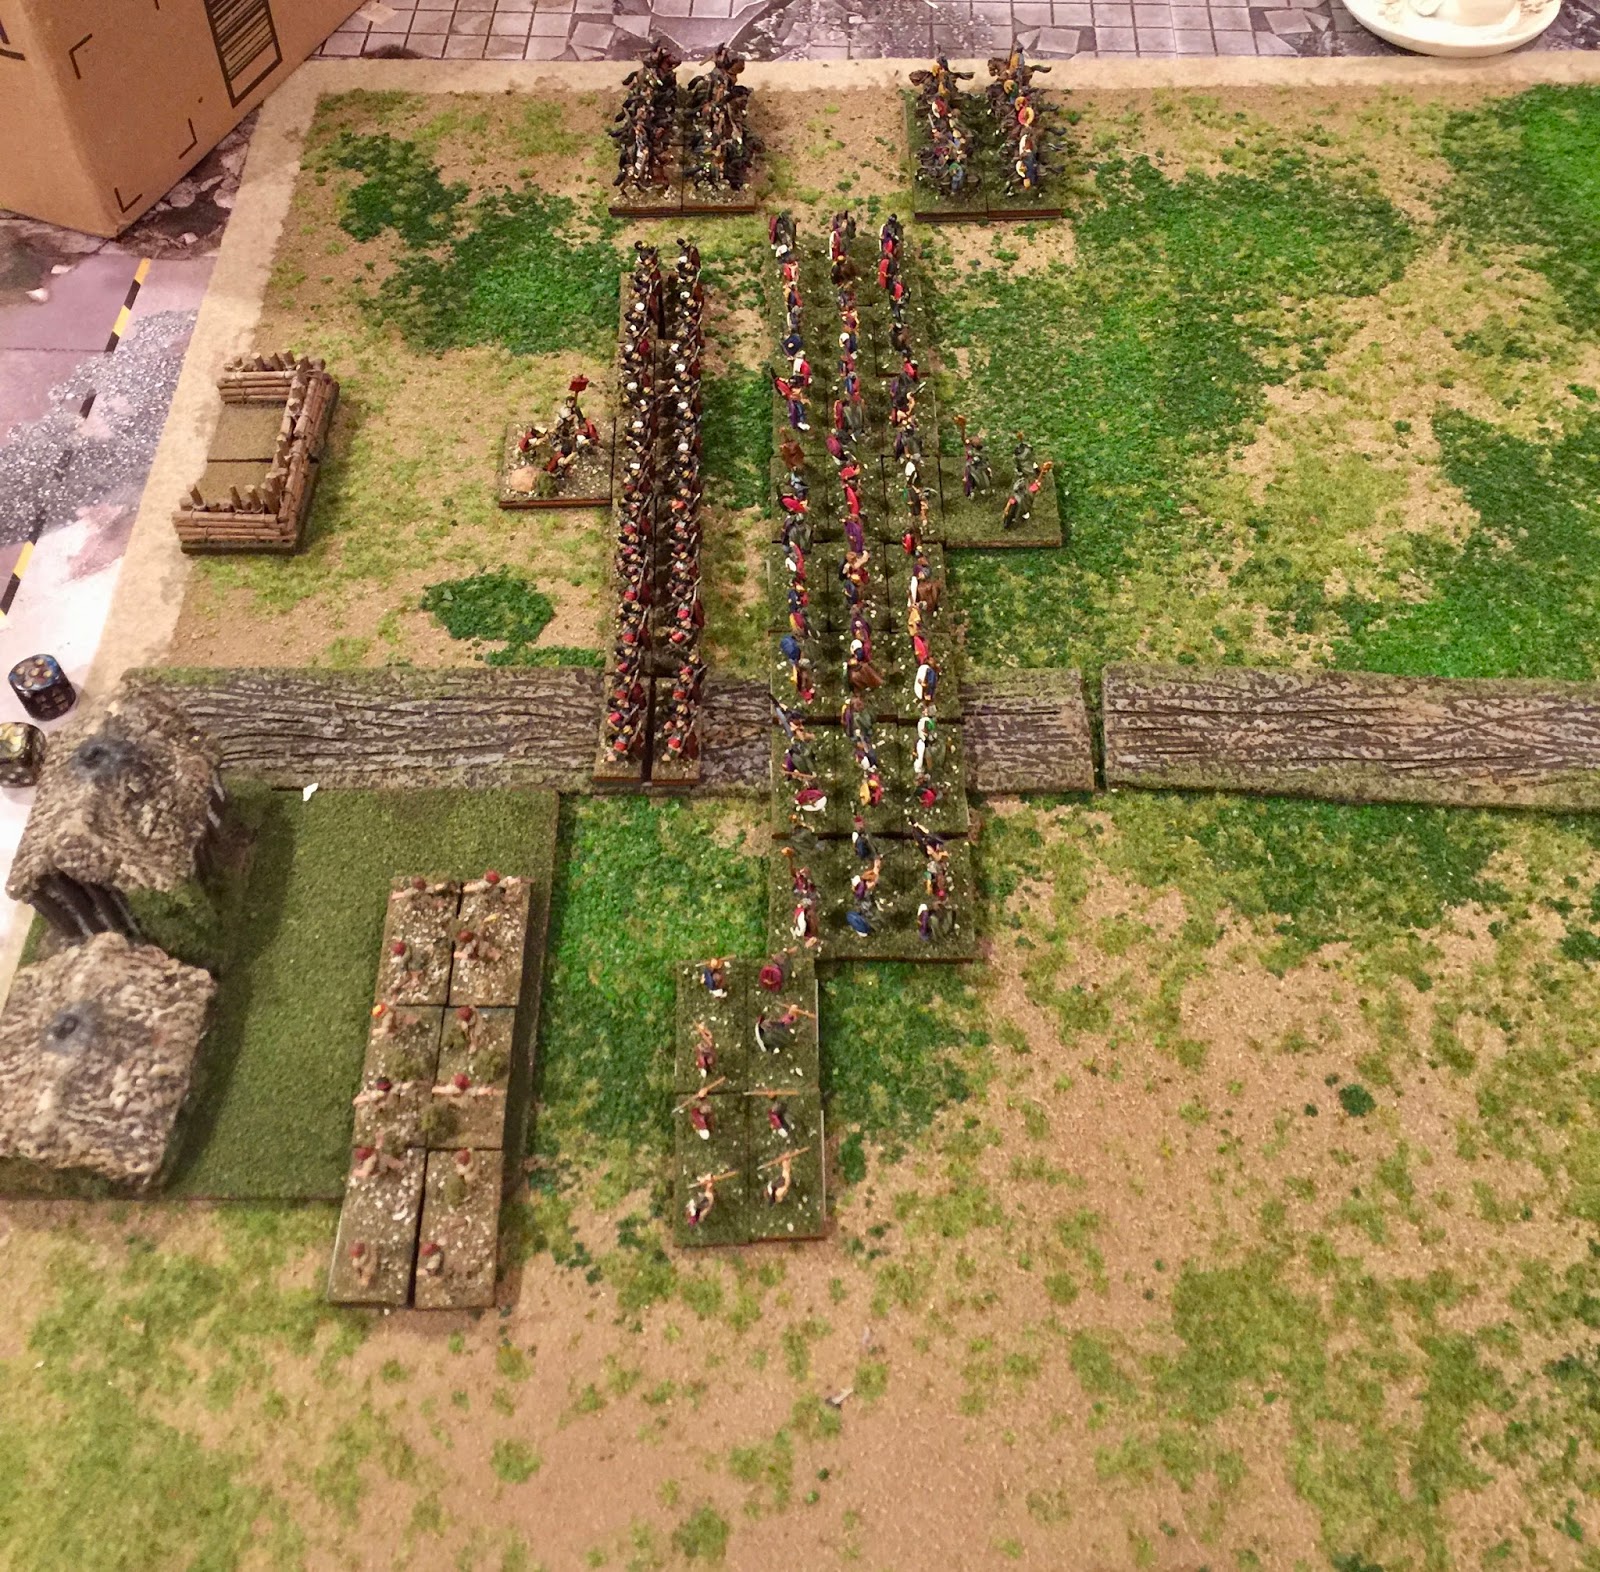
The Germans moved first and opted to move straight ahead. At the end of their first 4" move, they shift one base towards the bottom of the table. The second move stopped 1/4" short of 4" ending up 5 1/4" from the Roman line.

After the German 1st turn.

In the Romand 1st turn, the Roman legions opted to remain stationary. The Roman cavalry (BG 4) moved 5" forward to get in the face of the German Superior Warriors (BG 4). In the Joint Action Phase, the German leader moved to BG 4.

After the Roman 1st turn.

In the German 2nd turn, the German BG 4 (the superiors) attempted to expand in place but failed their CMT. The other three German BGs moved 3" straight forward.

After the German 2nd turn.

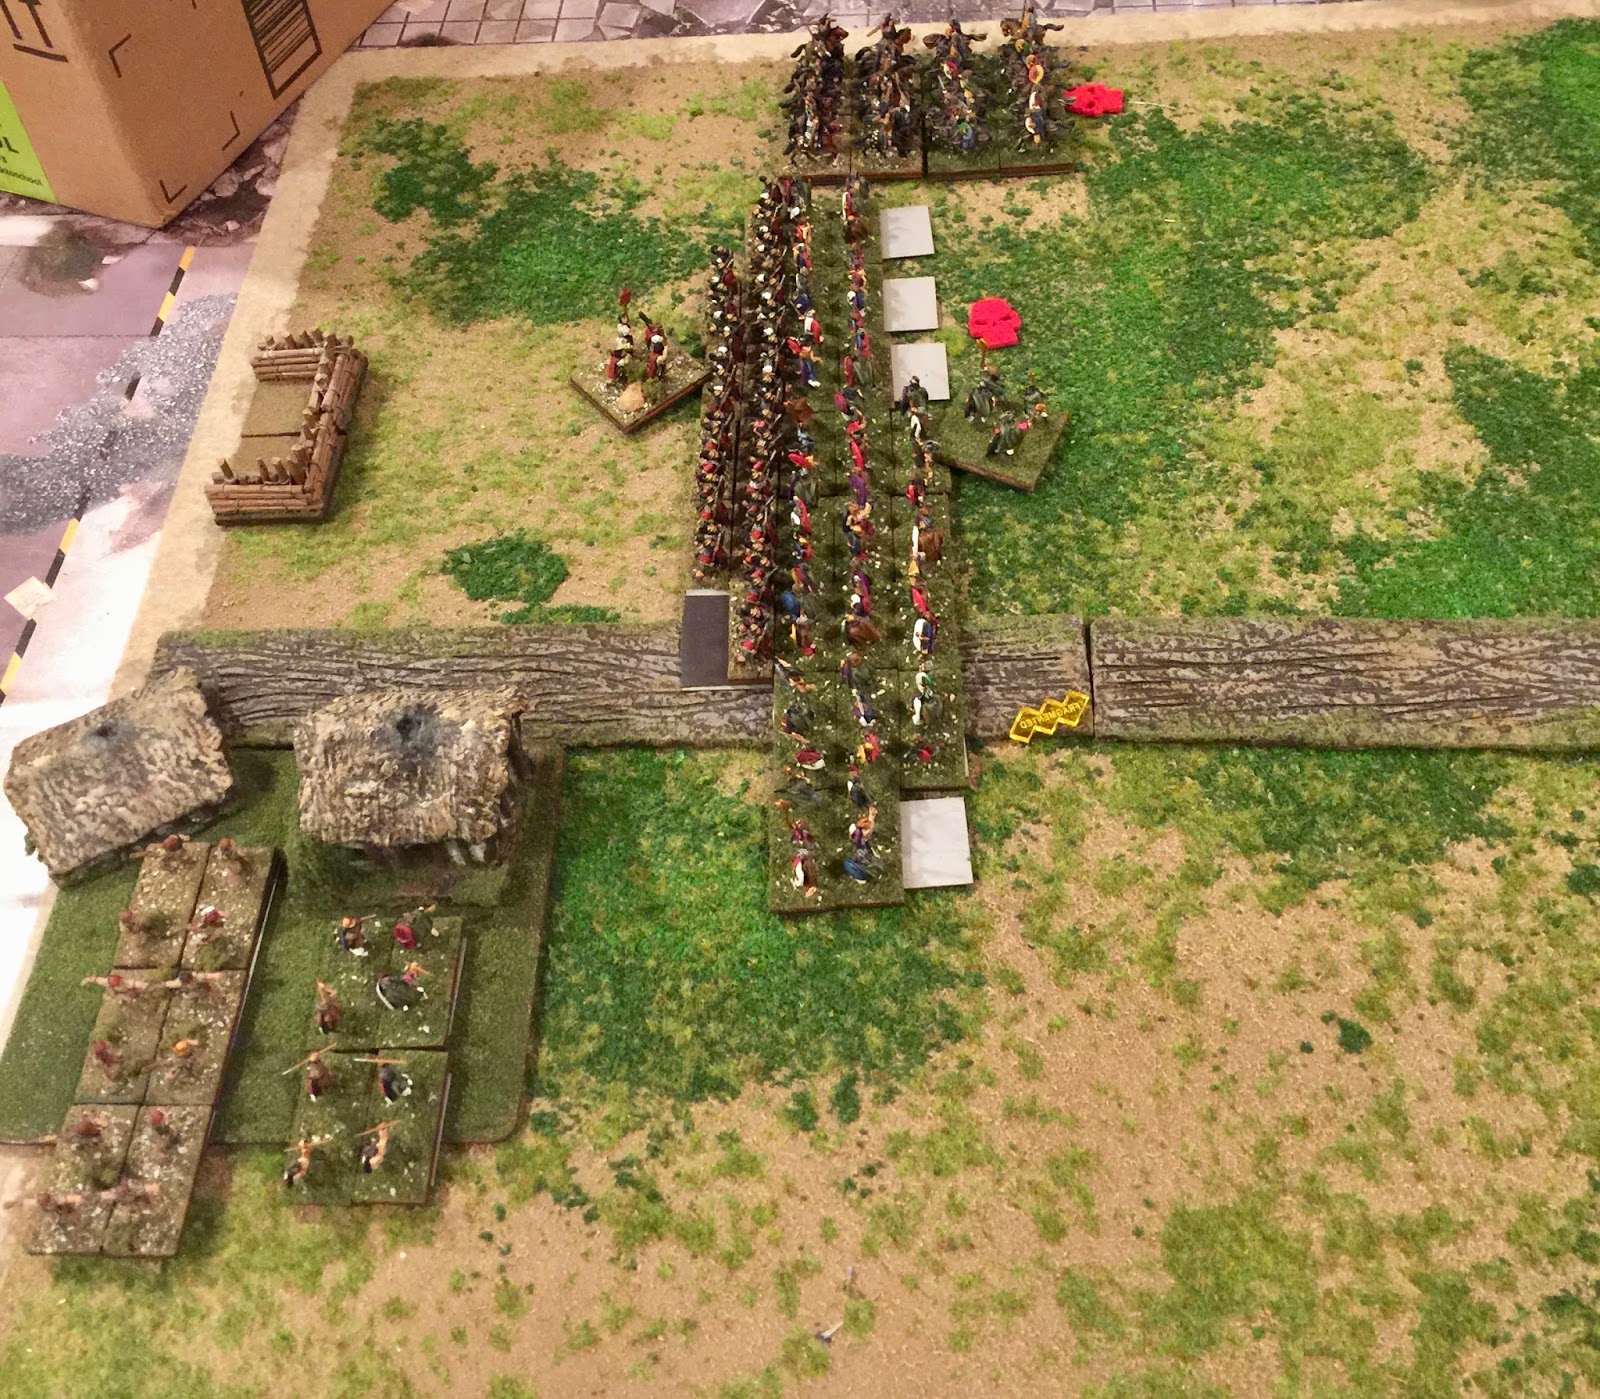
In the Roman 2nd turn, the Romans opted to hold the legions and not charge. Unfortunately, only the veteran BG 3 passed their CMT. Roman BGs 1 and 2 stormed forward in to the waiting German warbands. In the Impact, Roman BG 1 made contact with German BGs 1 and 2 scoring 3 and 1 hit respectively. The Germans managed 4 hits with BG 1 and 0 with BG 2. The Roman BG 1 survived its death roll as did both German BGs. German BG 2, however, failed its cohesion test and dropped to disrupted. At the other end of the line, the Roman leader decided to lead the charge. Roman BG 2 scored 4 hits to German BG 3 but took 6 in return. The Roman leader survived the carnage but both the Romans and the German BGs took a base loss from hits. The Romans also passed their cohesion test. In the Maneuver Phase, the Roman BG 3 double wheeled to move into the gap between Roman BGs 1 and 2. In the Melee Phase, Roman BG 1 scored 3 hits on German BG 1 and 0 on German BG 2. The Germans returned 1 and 2 respectively. Roman BG 1 survived his death roll but German BG 1 lost a base and then double dropped on cohesion. Roman BG 2 scored 3 hits to German BG 3's 2. The Roman leader survived another round of combat and the German BG survived its death roll. German BG 3 failed its cohesion test and dropped to disrupted.

After the Roman 2nd turn.

In the German 3rd turn, the German Superior warband (BG 4) charged the Roman cavalry. The German leader decided to lead from the front. The German superiors scored 2 hits to the Roman cavalry's 1. The Romans served the death roll and passed their cohesion test. In the Maneuver phase, the German Superior BG expand a file towards the river. In the Melee Phase, the German BG 1 scored 0 hits to Roman BG 1 and took 4 in return. German BG 2 scored 1 hit and took 0 from Roman BG 1. German BG 1 managed to avoid losing a base to the hits but broke on its cohesion test. German BG 1 routed 4". German BG 2 just shrugged its shoulders as its friend routed away and kept swinging at the Romans. German BG 3 scored 1 hit to 0 vs Roman BG 2 who survived its death roll and passed its cohesion test. The German BG 4 (the superiors) scored 5 hits on the Roman cavalry (BG 4) who managed only 1 in return. The Roman cavalry lost a base to hits but survived its cohesion test. In Joint Action, German BG 1 routed another 3" and the Roman cavalry broke off 1 1/2" to end in front of Roman BG 2.

After German 3rd turn.

In the Roman 3rd turn, Roman BG 3 held on a CMT. In the Maneuver Phase, Roman BG 1 expanded a file to cover another file of German BG 2 in the center. German BG 2 expanded to cover an existing overlap of Roman BG 1. In the Melee Phase, Roman BG 1 scored 5 hits to 2 against German BG 2 who lost a base and then fragmented on cohesion test. Roman BG 4 scored 4 hits to 1 against German BG 3 survived its death roll and passed its cohesion. In the Joint Action Phase, the German leader moved to German BG 3 and successfully bolstered the BG removing the disruption. Broken German BG 1 started wheeling to get passed the marsh.

After the Roman 3rd turn.

In the German 4th turn, the German BG 4 charged the Roman cavalry (BG 4). In the Impact, the Germans scored 5 hits to 3. The German BG survived its death roll as did the Roman cavalry. The Roman cavalry did not pass its cohesion test and disrupted. In the Melee Phase, the German BG 4 (the superiors) scored 1 hit as did the Roman BG 4 (the cavalry) for a wash. German BG 3 scored 2 hits to Roman BG 2 but took 3 in return. The Roman leader survived the melee. German BG 3 rolled off the hits and passed its cohesion test. German BG 2 scored 2 hits to Roman BG 1 but took 4 in return. German BG 2 survived the death roll but failed its cohesion test dropping to broken. German BG 3 cared not for the routing BG 2 and passed its cohesion test. At the end of Melee, the German force was 4 attrition points down breaking the army.

End Game

The Germans had some opportunities in impact and melee winning in a few places that could have changed the outcome if the Roman dice had not been so hot. Still playing around the campaign scenario so I suspect a similar battle will come appear on the blog in the future.


Sunday, July 5, 2020

Later Republican Romans

Here are a few pictures of my Later Republican Romans that will be used for the From the Forests Deep Campaign.  Almost all of the figures are Old Glory.  Most were painted by Tom Demers of Mad Monkey Painting with a few exceptions.  I will note the exceptions in the captions.
Here ia picture of all of those that are flocked.  I have a couple more battlegroups waiting their turn.  I am trying to decide if 58 stands of legionnaires is enough.

Close up of some legionnaires.

The two red shielded Legionnaire BGs on the right of the picture I picked up off E-bay.  Still Old Glory 15s and they match up well with Tom's paint job.  

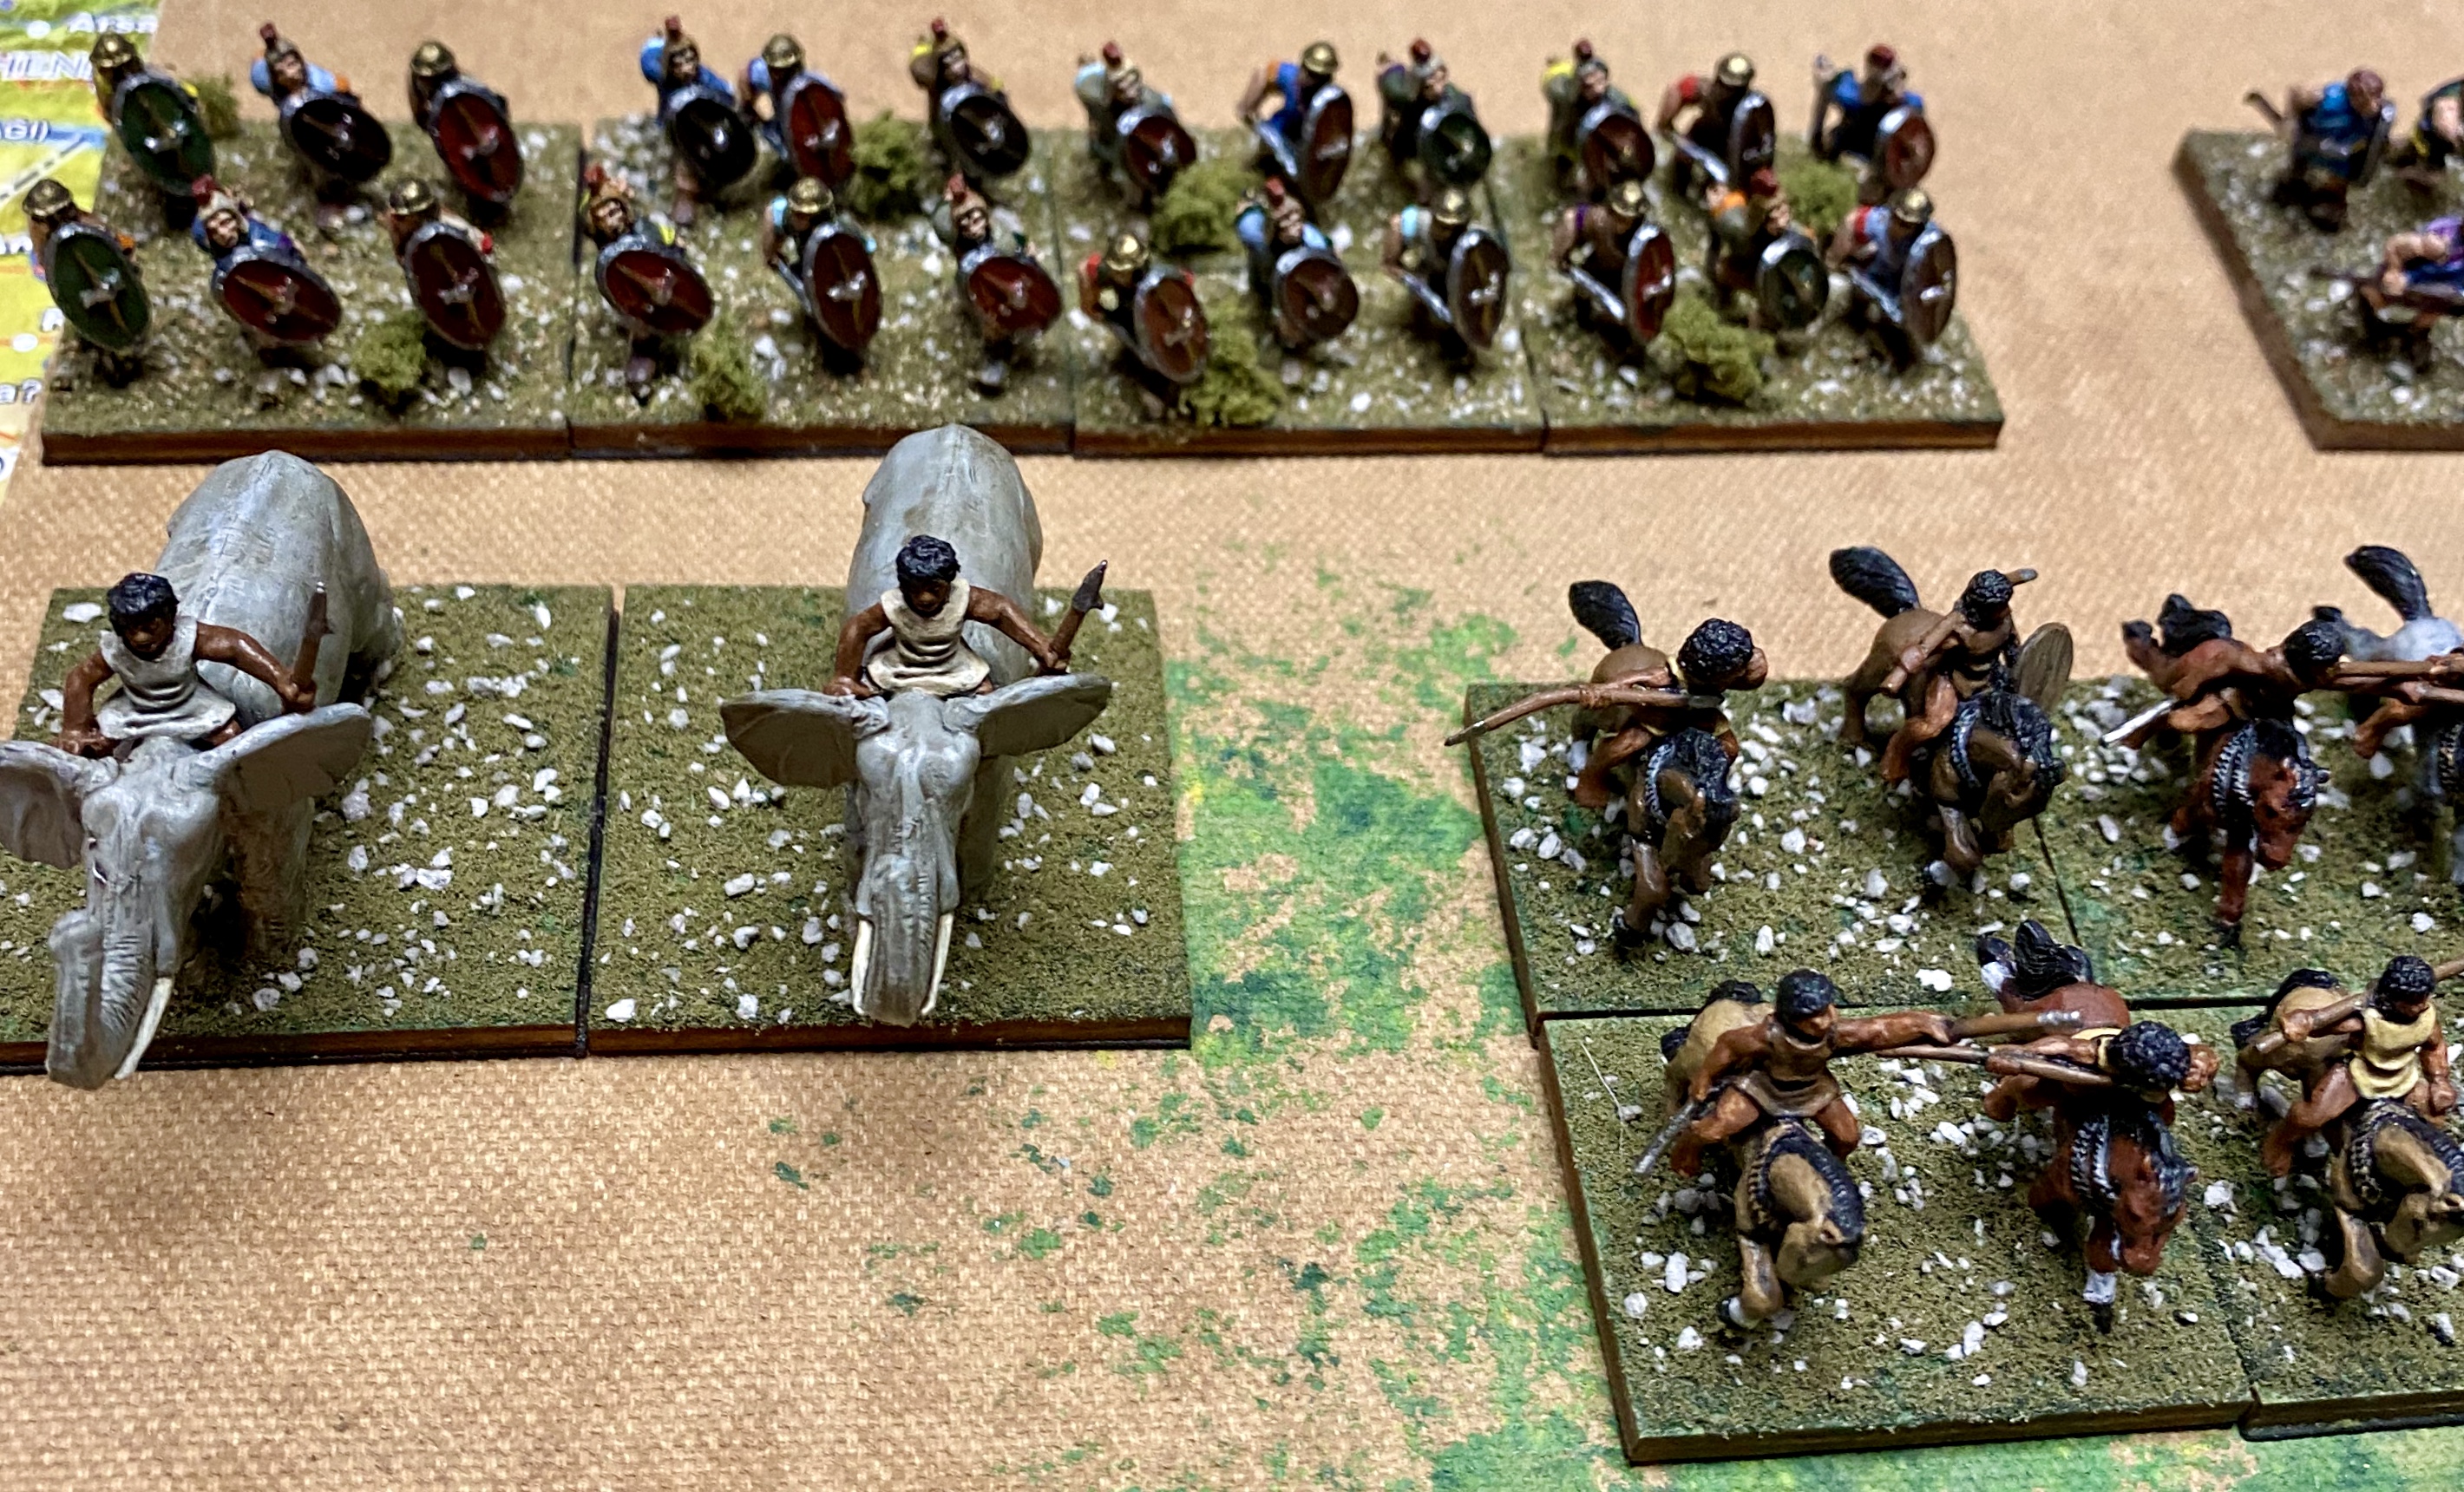
Some of the supporting cast.  The Numidians in the center line of the picture I painted.  The Numidian elephants and the light horse next to them are Corvus Belli figures.  The other Numidian light horse is Old Glory.  Behind the Elephants are OG Spanish swordsmen painted by Tom.  The six stand BG next to them are Jewish Thureophoroi in captured equipment.  I have two more stands to make them an 8 and another 8 stand BG that need to be flocked to make them into a Jewish ally.

Two BGs of heavy cavalry of the Gallic armoured variety.  I have a BG of Spanish in another box that can be pulled in if needed depending on theater.  The 8 stand BG in the middle of the picture are the ever popular Thracians with heavy weapons.

Here is a scratch built fortified camp and a 4-stand BG of Chariot (I think) Gladiators.  I built the fort and Tom painted the gladiators.  Way back in version 1 of FOG the LRR were allowed a 4-stand BG of Gladiators but alas they went away in V3.

Here is a close up of the Corvus Belli Numidians.  It just so happens I have an entire army of Numidians built under V1.  It was the first army I ever played in a FOG tournament because it was what I had.  Not currently playable under V3 as I do not have any cavalry stands and just am not motivated to paint more Numidians.

I have a BG of Illyrian spearmen I need to paint and a couple more of BGs of waiting in the wings should I opt to add more Legions to the mix.  Seems I have a dream of one day fighting a Roman Civil War with enough troops for both sides some day.  I will try and post pictures of the finished Germans next week.

Monday, June 29, 2020

June 29 Update

Work started back on June 8 so things had to slow down on the gaming/painting front.  I have been somewhat remiss though in not posting updates throughout the month.  In fact, the last post was from June 11.

I have been working on a new campaign scenario (yes, I know, I know, lots of squirrels).  This one is set on the Germanic Frontier of the Late Republic (49 BC).  I call it From the Forests Deep.  I have set up a campaign page and the rules and map are now up.  Hopefully, more will follow.


I stumbled upon some old thumb drives in the last few weeks have been able to add a boatload of stuff to the GCC Archives.  The first 8 years of the Gulf Coast Monthly have all been linked to the archives for your viewing pleasure.  These cover my first tenure as GCC Coordinator.  I have also added a file that lists the rankings over those first 8 years as well.  There is a color code for active players to track their progress over those eight years.  Perhaps some of you will find it amusing.  Check it out on the GCC Archives page.

Thursday, July 25, 2019

FOG 3.0 Returns to Lee's Basement

49 BC and the Republic is on the ropes

While Caesar and Pompey jockey for position in the Balkans, their cohorts battle each other in the Levant.  (Well, not really.  More like a playlets of Average Joe lists for HUBCON 2019).

Joey Miller took a more western centric, legionnaire heavy LRR list while I opted for an eastern variation with a Later Pre-Islamic Bedouin Ally.

Winning the initiative, I opted for agricultural.  Joey tried to squeeze the table down against all of my cavalry but it did not work so well as everything fell on his side of the table.  A plantation was on his left with an open field then a gentle hill and another open field on his far right.  

He brought a 6 pack of Numidian LH and a 6 pack of LF javelinmen to screen his left along with a BG of protected Gallic cavalry.  This was followed by 6 6-stand BGs of legionaries and 3 4-stand BGs of Legionaires for support.

I opted for a 4 pack of Syrian Horse Archers along with a 4-stand BG of Armoured Gallic cavalry and then 3 8-stand BG of Legionaires, 2 6-packs of legionaries, a 6-stand LF archer BG, an 8 stand Thracian MF BG plus 2 protected lancer cavalry BG and a LH lancer Bedouin ally.

Both of us decided to spend  the points and brought our legions as skilled swordsmen.

Not one to stand on ceremony, once I won the initiative, I sent my legions forward towards the enemy.  Joey, being well...Joey, did not disappoint and sent his forces forward to meet me.

I did not take notes but in the pictures below (that I took after each of my turns) you can see the action was fast and furious.  By the end of my 5th or 6th turn, it was over.  My dice was their usual awful selves so Joey was able to take the win.  It took less than two hours.  In fact, an ADLG game was being played next to us and was still a long way from resolution when we finished.

There will be a rematch in the coming weeks.  The decision is whether to bring Classical Indians or try another LRR list.


Sunday, July 14, 2019

FOG 300 Late Republican Romans vs Early Germans circa 49 BC

I have been busy working on a new campaign as well as packing for a move so playing time has been limited as of late.  This morning, however, I worked in a game of Late Republican Romans vs Early Germans.  The new campaign I am working on features the Germans pushing on the Rhine frontier after Caesar has crossed the Rubicon and left scant forces in Gaul to (mainly) keep an eye on the Gauls.  In this scenario, first rate Roman Legionaires are at a premium.  Consequently, the Roman commander must ensure that he husbands his superior legionaries.  Additionally, the Roman player must have allies (whether German or Gallic) to field full size armies in FOG (600 plus points).  More on the campaign rules later.  I have a draft of a map but I am not happy with it and want to refine it further before putting up for everyone to critique.

Anyway, on to today's game...

"Germans have crossed the frontier near Vetera. Tribunus Septimus Aurelius Mercurinus has ordered the 7th, 8th & 9th cohorts from the lands of the Eborones to converge at Vetera to send them back across the Rhine. We suggested that we send to Mongantiacum for the Primus Pilus but the Tribunus would not be swayed. As we are all newly promoted to the centuriate, we were not confidant enough to force the issue with him. The Tribunus found a force of auxiliary Gauls to provide cavalry support but I suspect we will be outnumbered by the Germans nonetheless." - From the diary of Centurion Decimus Aquillius Hiberus,  the Ides of March in the seven hundredth and fifth year since the founding of Rome (49 BC).

The Roman Host and list


With the exception of the general's base and camp, all legionnaires and the cavalry are Old Glory and painted by Thomas Demers. The general's stand was painted by me and is also Old Goory. The camp is a scratch built affair that I acquired at Bayou Wars several years ago.

The Early German List and Host


All of the German foot are Forge in Battle miniatures with an occasional Essex figure thrown into the mix and are a mix of all of the FIB German Warband packs. About 95% of them were painted by Mark Kernan of The One Tree Painting Service out of Northern Ireland. The German camp is from another army I put together several years past. i had planned on using them as ambush markers. I have a real camp on a 40mm by 80mm base that I hope to have finished in the next few weeks for the German hordes.

The Germans won the initiative and opted for Agricultural. The Romans wanted to close the battlefield down to help offset the German numbers and took the compulsory open field, then took a second open field and the gentle hill. The Germans settled for an open. All of the terrain managed to fit on the table but then the Germans removed one of the open fields by rolling a 6.

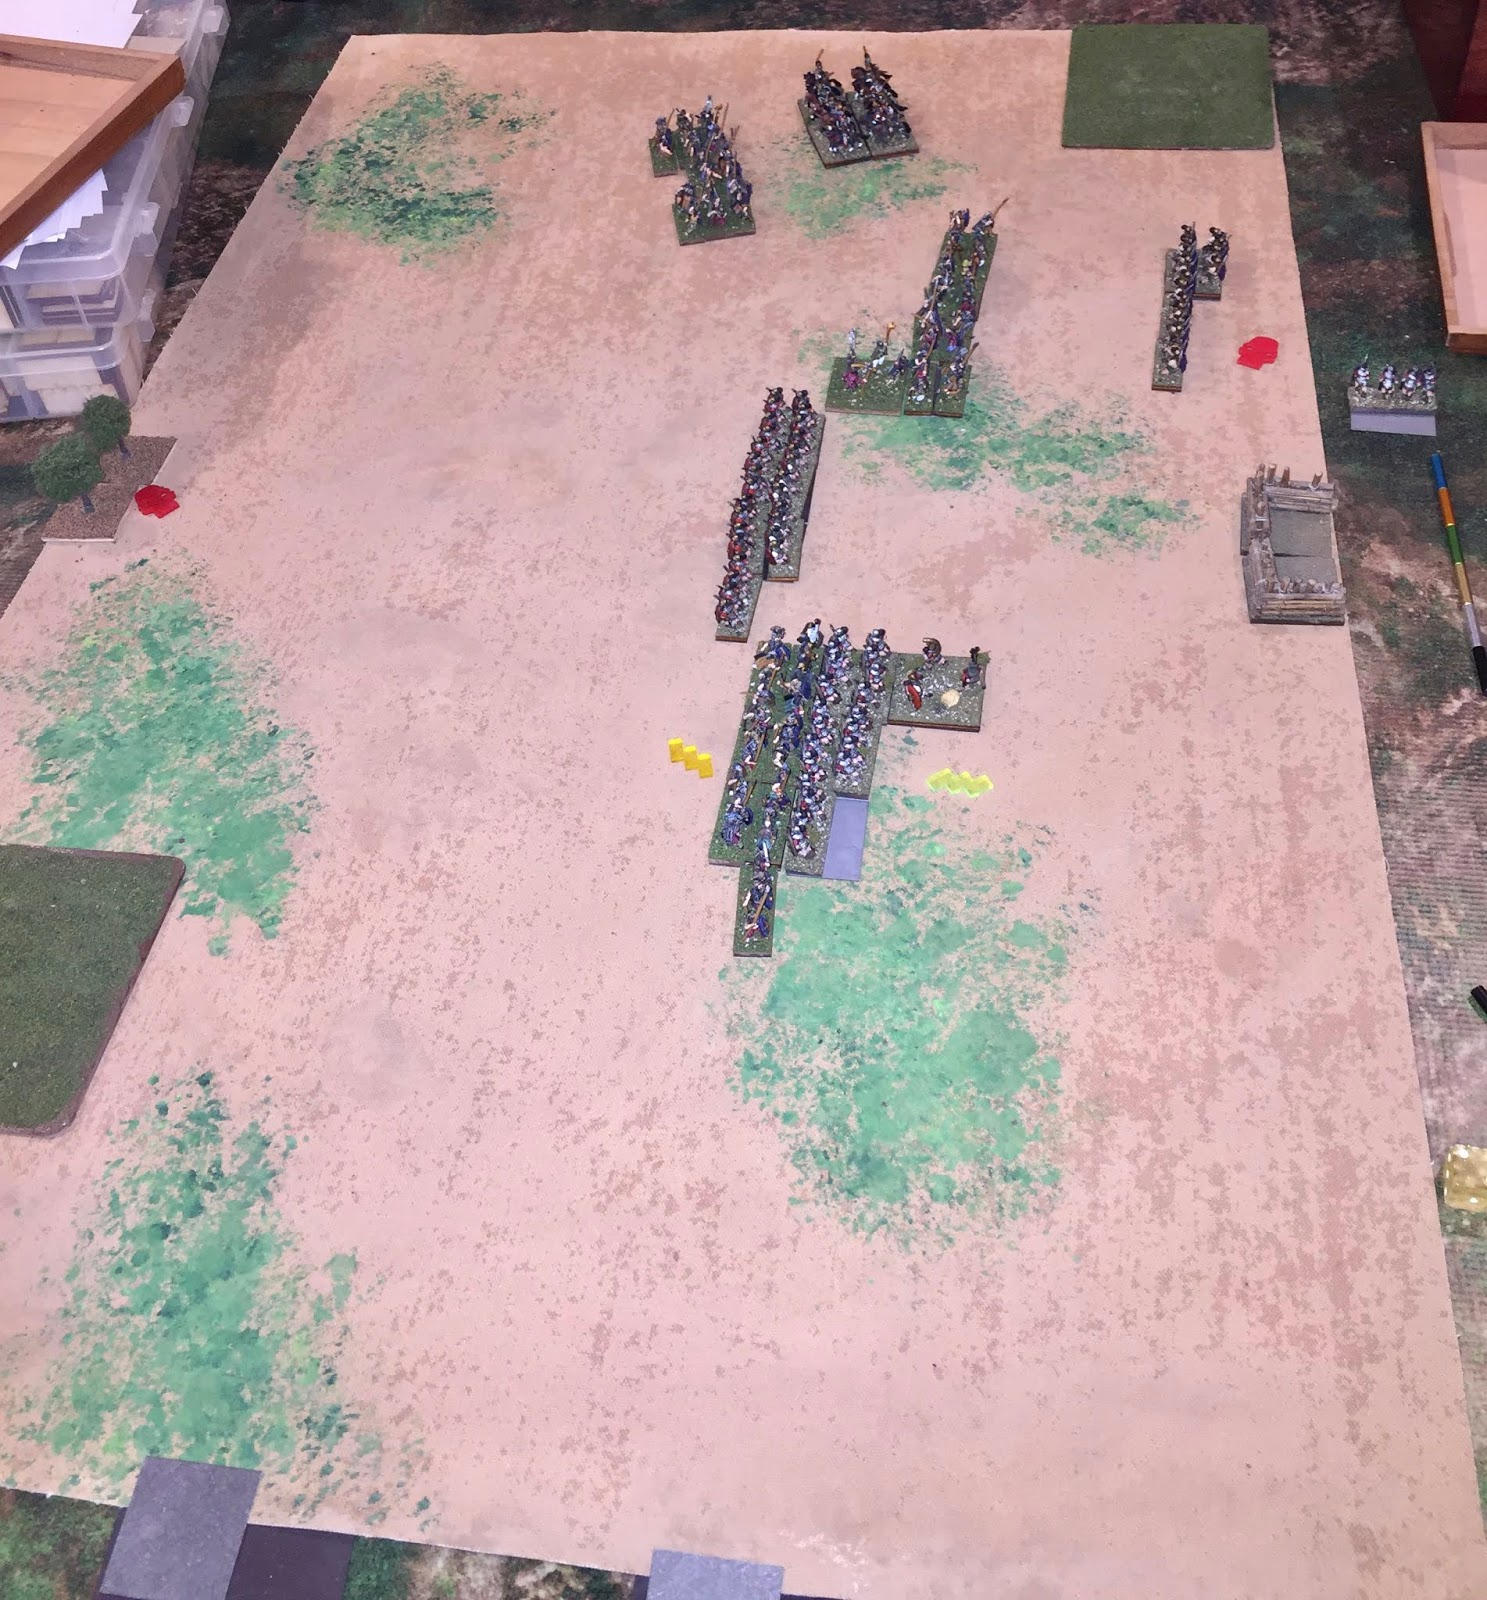
After deployment, the battlefield looked like this:  


The Germans deployed one average warband (with a bull's skull standard) on their left, the superior warband in the center in front of the camp, another average warband (with a bronze boar standard) to the right of the superior boys. The far right of the German line saw another average warband (with another bull skull standard) deployed.


The Romans deployed with cavalry off to the left near the gentle hill. The blue shielded legion anchored the left of the main battle line, with the eight pack red shields in the center and the tan shielded legion on the right. The Roman commander opted to begin with the red shields.


The German chieftain seized the initiative and moved the three warbands centered on the superior group a double move straight ahead stopping just outside of 5 inches of the Roman battle line. The average warband closest to the Roman cavalry moved 4" forward and shifted one base to be more in front of the cavalry. In the Joint Action Phase, the German chieftain moved to the Boar standard war band (on the left of the superior battle group). Thus ended the German 1st turn.

The Romans chose to move the entire legion line straight foward 3". The cavalry moved 5" towards the German flank warband slightly angled towards them. The Roman commander decided to stay with the Red Legion and the Roman 1st turn came to an end.


Here is a close up of the battle lines after the Roman 1st move from the Roman and German perspective.


The German warbands opened up their 2nd turn by charging the three grouped warbands straight ahead. The Roman leader joined the front ranks of the Red Legion to inspire his boys against the superior German warband. The Tan legion took on the Bull standard warband on the German right. The Red Legion took on the Superior warband. The Blue legion faced off against the Boar standard war band. Impact was very bloody for both sides. The Tan legion gave 5 hits but took 6 in return. The Red legion gave 4 hits but took 8 in return. The Blue legion also gave 5 but took 6 back. Although the Roman general emerged unscathed, all three legions suffered a base lost. Both the Tan and Blue legions dropped to disrupted. The Superior warband and the Boar standard warband suffered a base lost as well. In the maneuver phase, both German warbands on the end of the main combat expanded a file to provide an overlap. The remaining uncommitted warband passed a CMT and wheeled towards the Roman cavalry. To start the melee phase, the German chieftain joined with the Boar standard warband to fight in the front rank. The Tan legion then scored 2 hits to none. The opposing warband emerged unscathed though from both its death roll and its cohesion test. In the center, the Red legion scored 4 hits to 1. The superior Germans then proceeded to lose a base due to hits and rolled snake eyes to double drop to fragmented. The Blue legion managed no hits to the Boar standard warband who scored 2 hits. Although the Blue legion did not lose a base to hits, they managed to roll low enough to drop to fragmented. As both generals were fighting, there was nothing to do in Joint Action and the German 2nd turn ended.


To start the Roman 2nd turn, the Roman cavalry advanced to 2" of the uncommitted German warband so as to pin them on the flank. In melee, both the Tan legion and the warband opposite scored a single hit. In the center, the Red legion scored 5 hits to 1 from the superior German warband who lost a base and then broke on cohesion. The Blue legion managed a single hit but took 6 in return, lost a base and double dropped to break. The Red legion cared little for its Blue legion brothers and emerged unscathed from seeing friends break. On the German side, the Boar standard warband with the general cared little for the breaking Superiors but the Skull standard warband on the opposite end of the line double dropped to fragmented by rolling snake eyes on their cohesion test. In pursuit, the Superior warband routed 2" and were caught by the victorious Red legion dropping the superiors to 50%. The Blue legion on the other hand broke contact with their pursuers by fleeing 4". Their pursuers only followed 2". In the Joint Action Phase, the Red legion stopped pursuing. The Roman general moved to the Tan legion and attempted to rally them but failed miserably. At the end of the Joint Action Phase, the Superior German Warband was removed from play.


The German situation was somewhat desperate to start their 3rd turn. The warband opposite the cavalry decided to charge and hoped to quickly do away with them. Impact gave the war band 3 hits to 2 but the cavalry easily rolled off the hits and passed the cohesion test. In maneuver, the warband facing the cavalry expanded one file to the left to enable all 8 stands to fight the Roman cavalry. The warband with the German general attached turned 90 degrees to face the center and be just behind the Roman Red legion in the center. In the melee phase, the battle at the top of the table resolved itself with the German warband hitting the Roman cavalry 3 times to 1. Again the Roman cavalry easily rolled out of danger from the hits and the cohesion test. At the bottom of the table, the Roman Tan legion scored 2 hits to 1 from the fragmented Germans who managed to pass their death roll but broke on cohesion. In pursuit, both the Germans and the Romans went 4" causing yet another base lost to the routing Germans. With the resolution of the pursuit, the game ended with the Germans broken.


On reflection, the German impact phase in the 2nd turn had the possibility of being extremely disastrous for the Romans (20 hits by the Germans to 14) but the Roman cohesion dice balanced it out. The scenario, meant that the Romans would all be average which makes it very harry when the average German war bands deploy three deep and get the Superior bump in impact. The Romans will have to use their Generals very wisely to counteract this in the future. All in all, another fun game that will play well into a project I have on the table.


Saturday, November 25, 2017

FOG 300 V3 Playtest - LRR vs Hill Tribe Gallic circa 58 BC Part II

After two days rest in Tolosa, our march continues towards our rendezvous with the army of the governor of the province, Gaius Julius Caesar.  Our illustrious Pilus Prior, Calus Otacillus Pansa, has chosen for us to follow local guides on a shortcut through the lands of the Volcae.  He assures us that supplies will be plentiful and that by using this route we will be given the opportunity to show the Volcae that Rome protects its friends.  He has stated that the Ruteni have been sending raiding parties across the border and plundering the Volcae villages.  If our luck holds, he says, we just might meet one of their parties.  Right on cue, a week out of Tolosa, we happen to find one of those parties of Ruteni for us to chastise.  Seems rather convenient.


The Roman list:

The Gallic OB was adjusted for this playtest and instead of three BGs of 8s, 2 BGs of 12 were chosen.


The Gallic Chieftain wins the initiative for this game and opts to play in Hilly terrain.  The Roman Pilus Prior takes the compulsory gentle hill and an impassable.  The Gallic Chieftain takes a village, a forrest and a broken.  On placement, the impassable, the broken and the forrest are all discarded with rolls of 6s.  The village lands just left of the center of the Roman baseline.  The hill lands on the right flank of the Gallic baseline.  The Gallic Chieftain also places a road across the table.

From atop the hill on the Gallic side, the Romans deployed the slingers inside the village with one legionnaire BG across the road and the second to its right.  The Roman cavalry is on its flank.


The Gallic Ruteni deploy with the cavalry on their left followed by the two 12 packs of warriors (4 files of 3 ranks each) and the javelinmen on the hill.


The Gallic player moves first and orders a general advance across the table (there really is no terrain to hide in after all).  The Gallic warbands move 8" and shift one base to their right.  The Gallic cavalry move a full 5" and shift 1 base right.  The Gallic javelins move with the warband.  As there is no shooting to be had, the Gallic 1st turn ends.


For the Roman 1st turn, the legionnaires move 3" straight ahead.  The Roman slingers move 4" straight ahead and shift 1 base to their right.  The Roman cavalry wheel right 1", move forward 3" and wheel 1" left to come more in front of their Gallic counterparts.  Again there is no shooting and the Roman 1st turn ends.


For the Gallic 2nd turn, the Gallic Chieftain opts to maneuver but fails to realize that the Roman slingers are within 4" of his left warband.  The left Gallic warband fails it's CMT not to charge and charges.  The Roman slingers evade back into the village. The warband ends up charging 4" forward.  In the maneuver phase, the right warband moves in line with the left warband.  The javelinmen move 5" forward.  The Gallic cavalry do a double wheel to end up square in front of the Roman cavalry.  In the shooting phase, the Gallic javelinmen score no hits on the slingers.  The Gallic 2nd turn thus ends.


To start the Roman 2nd turn, the Pilus Prior launches the legions and the cavalry forward into the Gallic hordes.  The Gallic Chieftain pitches in to support the right warband and the Pilus Prior joins his own left legion.  In the impact, the left legion gives out 4 hits and takes 4 in return.  The Pilus Prior survives but the legion loses a base on the death roll.  The right legion scores 1 hit on the Gallic right warband (from the Gallic perspective) and 1 on the left warband.  In return, it takes 2 from the right warband and 5 from the left warband.  The right legion loses a base to hits but passes its cohesion test.  The Gallic Chieftain survives the impact and neither warband suffers from death rolls. The Roman cavalry score 3 hits on the Gallic cavalry who give 2 in return.  The Gallic cavalry survive their death roll and pass cohesion.  After conforming for the upcoming melee, the only maneuver the Romans have left is to move the slingers another 1" into the village and turn around.  This movement ensures there is no shooting this phase.  In melee the Roman cavalry scores 2 hits to none.  The Gallic cavalry, however, pass both their death roll and cohesion test.  The left Roman legion scores 3 hits to 3 on the right warband.  The right Roman legion scores 1 hit on the right Gallic warband and 2 on the left warband.  In return, it takes 3 from the left warband but none from the right.  Both generals survive the melee.  Neither legion loses a base on their death rolls.  The right warband loses a base to the death roll and disrupts on its cohesion.  There is nothing to be done in joint action at this time so the Roman 2nd turn ends.


For the Gallic 3rd turn, there are no charges, so the javelinmen move to within 2" of the slingers.  In the shooting phase, the javelinmen score no hits.  The slingers can only muster 1.5 dice which is not enough to effect the javelinmen so the shooting phase ends.  In melee, the Gallic cavalry score 1 hit to 3 and disrupt on their cohesion test after passing their death roll.  The right warband manages 1 hit versus the left legion and none versus the right legion.  The left warband also fails to score a hit.  The left legion scores 2 hits on the right warband while the right legion scores 2 on the left warband.  The Gallic Chieftain survives and the right warband survives its death roll.  It does not, however, survive its cohesion test and fragments.  The left warband surfers a base loss from hits and disrupts.  There is nothing that either side can do in joint action so the turn ends.


For the Roman 3rd, the slingers move back 2" into the village and turn around.  After the move, there is no shooting to be had so the phase ends.  In melee, the Roman cavalry score 2 hits to 1 on the Gauls.  The Gallic cavalry survive the death roll but fragment.  The left legion scores 4 hits on the right warband and takes 2 in return.  The right legion fails to hit the right warband but scores 2 hits on the left warband.  The left warband fails to hit the legion in return.  Both generals survive this round of melee.  The right warband loses a base to the death roll but passes its cohesion.  The left warband passes its death roll but fragments on its cohesion test.  Neither side has anything they can do in joint action so the Roman 3rd turn ends.


The Gallic 4th turn begins with no charges.  The javelinmen move into the village.  Neither side has enough dice for effective shooting so the phase ends.  In melee, the Gallic cavalry manages 1 hit to 3.  While they survive the death roll, they break on cohesion.  The Gauls have lost at this point with 4 attrition points lost but the phase must be finished. The right warband scores 3 hits on the left legion while taking 4 in return.  The right warband also scores 1 hit on the right legion who suffers 2 from the left warband.  The right legion matches the warband hits on it to draw the combat.  Both generals survive the melee.  Both legions survive their death rolls.  The left warband survives its death roll while the right warband suffers a 1 base loss.  The right warband breaks on its cohesion test.  The left warband somehow survives its post battle cohesion test for seeing friends break but the game is over nevertheless.
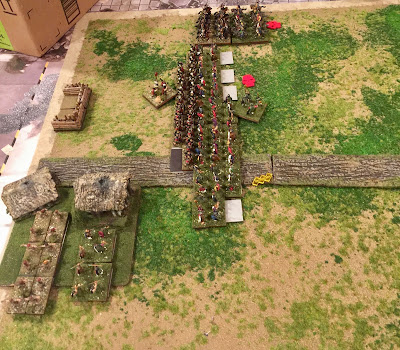

Probably missed some quality rerolls in the melee for this game which would really have only made the game end much quicker.  As it was, the game was over from set-up to finish in under an hour (approx. 55 minutes).

Hopefully, we have cowed the hostile Gauls in our path and we should arrive in Vienne within the week.  The Pilus Prior has done nothing but sing his praises since the victory.  It will be nice to get back with the army...

Lines from the journals of Hastatus Posterior Lucius Lutatius Calvus

FOG Update

 FOG version 3.3 has dropped.  See the FOG 3.3 resources page.  I have added links to the rules and the books plus the ReadMe doc.  I will a...