Syrian States List and Host


Early Crusader List and Host


The matt used is a Baueda 60 x 60 (2' x 2') Mediterranean Terrain Matt. It turns out the finished part of the matt is not actually 2x2 by closer to 23.75" x 23.75". It looks nice though and I will continue to use it unless I find something that will work better.
The Syrians won the initiative and chose Agriculture for the terrain. The Crusaders took the compulsory Open Field, an Open and the Gully. The Syrians opted for a Gentle Hill and another Open Field. At the time it seemed like a lot of terrain and probably would have been if it had all fallen in areas that it would fit. However, once I started placing the terrain everything but the open fell on the Syrian side of the table on the edges. The Gully and the Gentle Hill ended up not fitting so the field ended up with just two Open Fields on the Syrian side of the table.


The Syrians deployed with both flanks anchored by the Turcomans in the open fields. to the right of the left most Turcomans, the Ghilmen, the Arab Lancers and then the Ahdath militia deployed with a single base deep line of skirmishing archers in front of the Ahdath.

The Crusaders moved first and double moved the infantry line up six inches in the center and Crusader left. The knights moved up a full move on the right and the supporting crossbow moved as far as they could in support and started edging to cover the open left flank. No one was in shooting range so the Crusader general moved to the knights in the joint action phase.


On the Crusader's next move, the Blue Knights (right flank) edged towards the Turcomans to their right front as the general advanced continued. The Green Knights (center-right knights) received two hits from the Syrians but passed cohesion. The left flank crossbow took two hits and passed cohesion as well. Crusader missile fire from the crossbow was ineffective. Somehow I missed taking pictures of this turn.
The Syrian Lancers opted not to charge the knights and held. The left flank Turcomans attempted to pull back and turn to face but failed their CMT so opted to move back a full 7 inches. The Ghilmen expanded so they could shoot at both knight units. Unfortunately, the Syrian shooting was as bad as the Crusaders and no hits were to be had.
The Crusaders decide to hold both knights this turn (succeeding). The Green Knights expanded to three wide. The Crusader infantry moved closer to the Syrian line and the right side of the crossbow moved up into the face of the right flank Turcomans and their friends the light foot archers. Neither side knew how to shoot so we moved to the Syrian turn.

The Arab Lancers hold again and the Syrians try to shoot to an advantage. Unfortunately, shooting is still a skill that neither side has mastered. (The Turcomans at the bottom of the picture above forgot to move this turn - this will be big later.)
In the Crusader turn that follows, both knights charge. The Ghilmen evade and end up just behind the Turcomans. The Blue Knights end up just behind them as they rolled long but not long enough. Both the Ghilmen and Blue Knights are disordered by the terrain. The Green Knights charge into the Arab Lancers. Knights win 3 hits to 2 but the Arabs pass both cohesion and death rolls.

In movement, the Green Knights expand so that all four bases will be fighting the Arab Lancers while the rear crossbow fail another CMT to move short. The Spearmen make a CMT and move closer to the action. In the shooting phase, the front crossbow takes three hits but survives. Return fire is split between the Turcomans and foot archers and has no effect.


In melee the Green Knights and the Arab Lancers both score two hits to no effect.
In the next Syrian phase, the Ghilmen have no where to go with the Turcomans in their front so they turn to face the Blue Knights. The Turcoman's turn and move as far as they can towards the camp but end up behind two bases of the Ghilmen. All they can think is that this is going to hurt. Syrian shooting on the front rank crossbow finally has an effect and they disrupt.

Unfortunately for the Syrians, the Green Knights remember what their sword is for and score 4 hits to 2. The Lancers loose a base and drop to disrupted.

The Crusaders can now smell blood and the Blue Knights (even though disordered by the field) charge into the Ghilmen who have no were to run. The Spearmen drop back a base and also charge. The archers facing them run away but the Spearmen roll a "1" and only charge an inch. The Blue Knights on the other hand plow into the Ghilmen and learn that even in a field the Ghilmen are tough especially when you don't get your lance. The Blue Knights loose 3 hits to 2 and disrupt.

In the movement phase the Blue Knights expand to their left one base and pin the Turcomans in their restricted zone.

In the shooting phase the Crusader crossbows inflict two hits to one on the LH but they pass their cohesion.
In melee, the Arab Lancers loose 5 hits to 2 and fragment while loosing another base. The Green Knights and the Ghilmen draw with one hit each.
In the next Syrian turn, there are no charges, the Syrian left flank Turcomans and the light foot swap places and the Blue Knights expand one more base so that all bases are fighting now. The Arab light foot scores two hits on the crossbow and they fragment. The crossbow inflict two hits in return but the Arab light foot survive.
In melee, the Blue Knights loose 2 hits to 3 but survive the cohesion test and death roll. The Green Knights however do 5 hits to 1 to the Arab Lancers who break. They route to in front of the Syrian camp while the Green Knights plow into the Ahdath Militia who have been waiting their turn in the meat grinder. The Ghilmen and the Ahdath both survive their cohesion test for the routing of the Arab Lancers. The Syrian Leader decides to move to the militia in hopes of holding on a little longer.

In the next Crusader turn, the Spearmen charge into the Ahdath Militia. The Green Knights loose 1 to 0 while the Spearmen win 2 hits to none. The Green Knights disrupt in impact but the Ahdath Militia survive.
Both the crossbow units fail CMTs to move and are stuck in front of the Arab light foot. The Arab light foot take two hits but survive but only score 1 hit to the crossbow.
In melee the Ghilmen loose 3 to 1, disrupt and loose a base. The Green Knights and the Spearmen score 6 hits to 2 between them and the Ahdath disrupt and loose a base in front of the Spear.
In the next Syrian turn, the right flank Turcomans return to the fray and pass through the Arab archers so they can shoot at the fragmented crossbow. Between them, the Turcomans and the archers inflict three hits to the crossbow who upon failing to hit in return break and route through their supporting brothers disrupting them but who in turn pass their cohesion test for seeing friends break.
In melee the Green Knights and Spearmen only manage 1 hit each but the Ahdath manage 1 and 2 respectively. The Spearmen drop to disrupted. Meanwhile the Blue Knights do 2 hits to 1 to the Ghilmen who Fragment and loose a base.

As we begin the final turn, the only movement is done by the remaining crossbow unit that passes a CMT and squares up to face the Turcomans and Arab archers. Unfortunately, no one remembers how to shoot and no hits are scored from either side.
In melee, the Green Knights and the Spearmen inflict 1 hit and 2 hits respectively but take 2 hits and 1 hit in return. The Spearmen pass their cohesion and the Ahdath Militia survive their death roll.
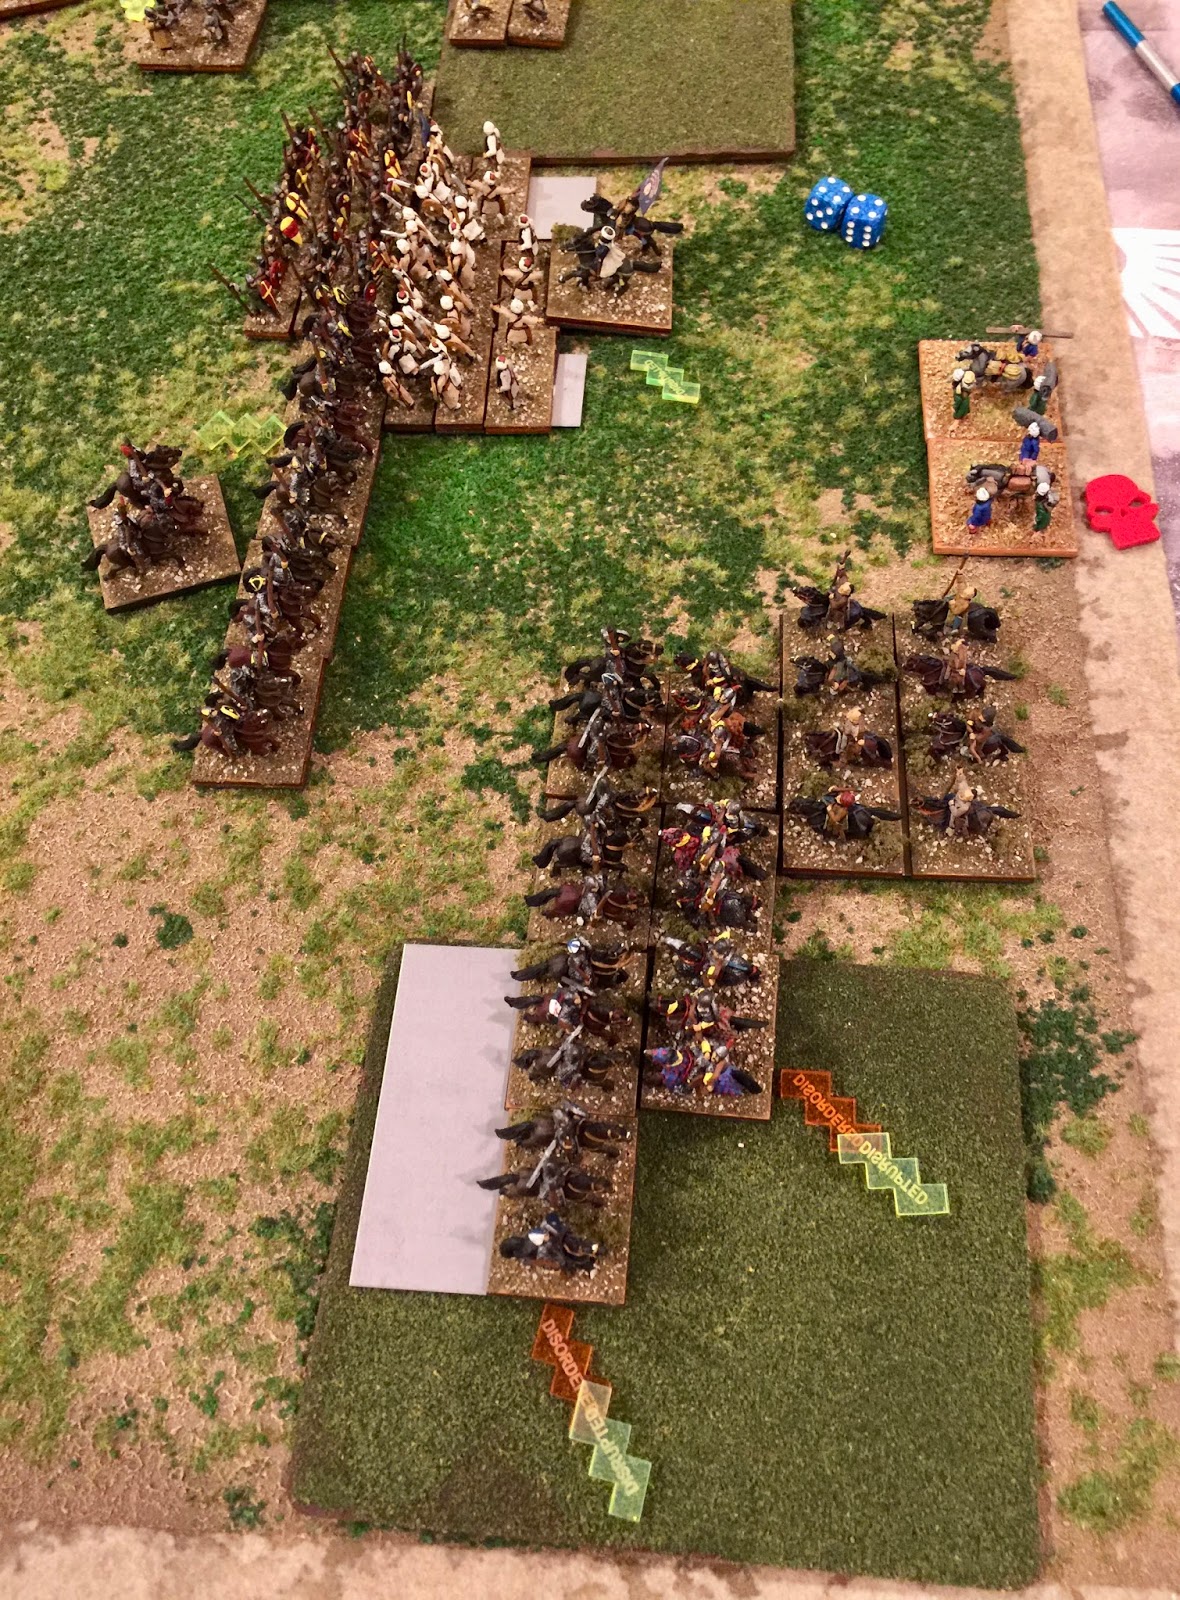
The Blue Knights inflict 5 hits to the Ghilmen 1 and they break. The Turcomans behind them failed their cohesion and disrupted. The Ghilmen route through the Turcomans who fragment. The Ahdath Militia being within 3" also tested for seeing friends break and fragmented. In the pursuit phase of melee the Turcoman light horse in front of the Blue Knights failed their cohesion test for being charged while fragmented and routed off the board.

The picture above is the board at the end of the game.
The game took right around 2 hours but would have moved much faster if I had not been taking pictures and taking notes after every move/phase. The small table prevents a lot of maneuver and if skirmishers roll up when evading there is a good chance they will go off the table early. Terrain can make the table very congested and in this case it squeezed the Syrians into the middle.
I will work on another test game soon. Early Crusaders versus Seljuk Turks maybe.


No comments:
Post a Comment
Due to spambots making inappropriate comments, all comments are currently moderated. My apologies for the inconvenience.